What if your fingertips could become miniature galleries of three-dimensional art? This isn’t science fiction—it’s the reality of modern 3D nail design, where texture, depth, and dimension transform ordinary manicures into extraordinary artistic statements.
The journey of 3D nail art has been nothing short of revolutionary. What began as simple raised designs in the early 2000s has evolved into intricate sculptures that defy gravity and imagination. Since 2015, Google searches for “3D nail art” have increased by over 300%, reflecting both consumer fascination and professional adoption of these techniques.
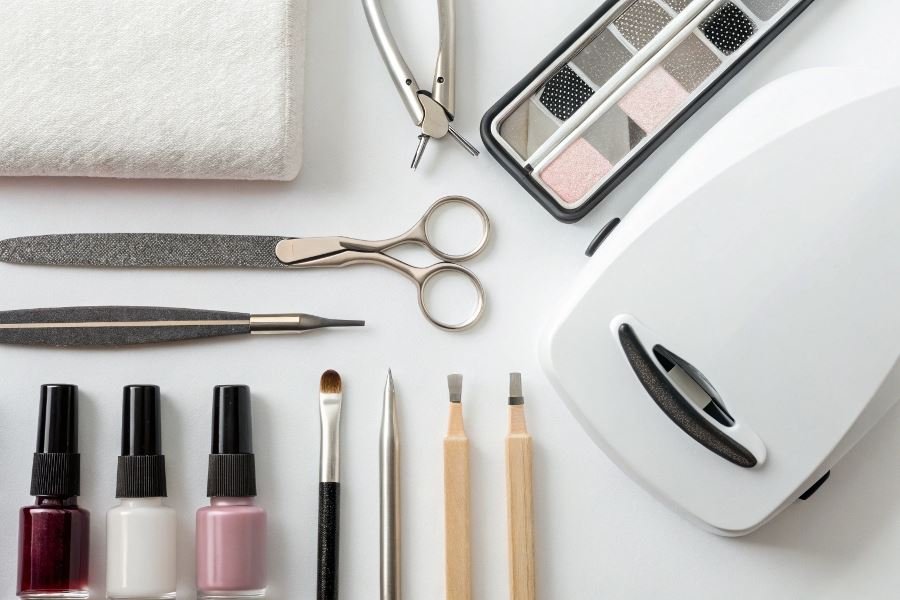
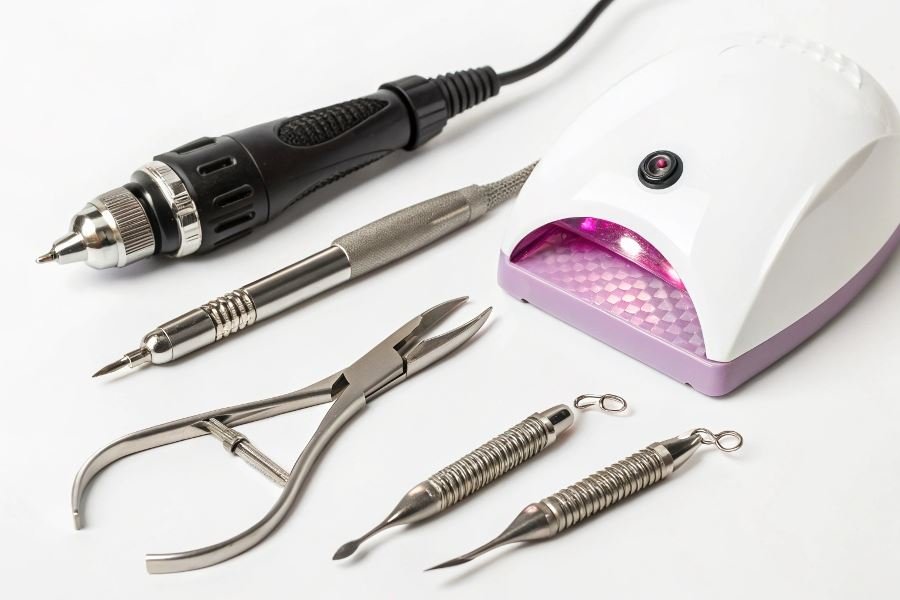
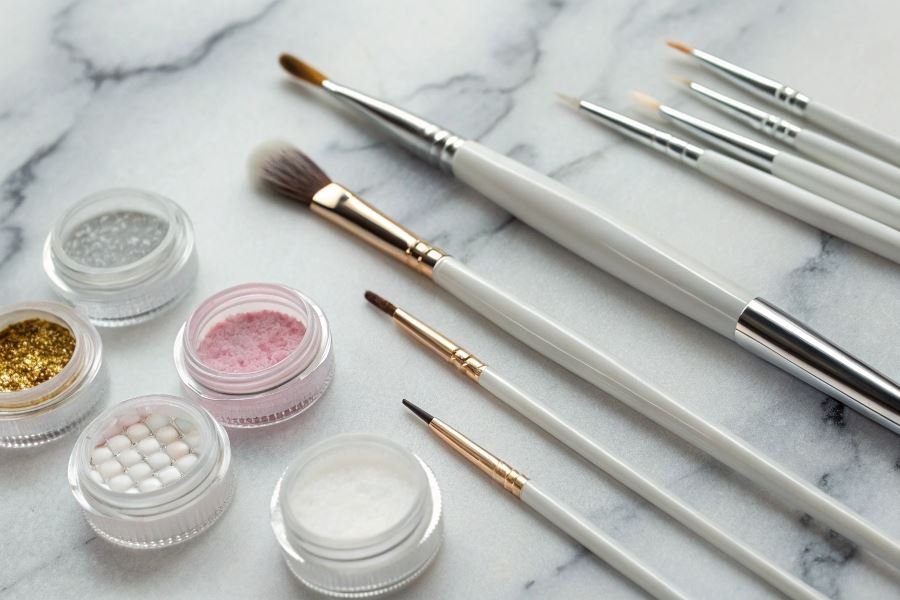
Creating dimensional nail masterpieces requires specialized tools that extend beyond the basic manicure kit. The foundation starts with high-quality acrylic powders and liquid monomers that form the sculptable medium. Precision implements like fine-tipped brushes (sizes 000-1), silicone-tipped tools, and micro carving instruments allow artists to shape, mold, and texture these materials with surgical precision.
“The difference between amateur and professional 3D nail art isn’t just skill—it’s having the right tools and knowing how to use them.”
When selecting tools for dimensional nail design, material quality becomes paramount. Professional-grade implements crafted from surgical stainless steel offer longevity and precision that plastic alternatives simply cannot match. The brush bristle composition—whether natural kolinsky sable or synthetic fibers—dramatically affects control and detail work.
The dimensional difference
What truly separates exceptional 3D nail designs from mediocre attempts is the artist’s ability to manipulate depth, texture, and negative space. This manipulation requires tools with specific characteristics: ergonomic handles that prevent hand fatigue, precision tips that allow for microscopic detail work, and materials that interact optimally with acrylic, gel, and embellishment elements.
Essential Tools for 3D Nail Design: The Ultimate Selection Guide
The artistry of 3D nail design has transformed from niche salon service to mainstream creative expression. Professional nail technicians and enthusiasts alike are discovering that the right tools make all the difference between amateur attempts and gallery-worthy nail art. When selecting tools for 3D nail design, features of selection should focus on quality, precision, and compatibility with your preferred mediums.
Base Application Tools: The Foundation of Excellence
The journey into dimensional nail art begins with proper base application. High-quality brushes form the cornerstone of any 3D nail artist’s toolkit. Look for:
- Gel brushes with synthetic bristles that won’t absorb product
- Acrylic brushes with natural kolinsky sable hair for optimal product pickup
- Flat brushes (sizes 4-6) for smooth, even application
- Detail brushes (sizes 00-1) for intricate line work
Dotting tools deserve special attention as they create perfect symmetrical elements. Professional-grade dotting tools from brands like Artisan Professional feature dual ends with ball sizes ranging from 0.5mm to 3mm, allowing for versatile pattern creation.
Pro tip: Invest in brushes with ergonomic handles to prevent hand fatigue during detailed work sessions.
Sculpting Implements: Building Dimension
The sculptural aspect of 3D nail art requires specialized tools and materials:
| Material | Best For | Essential Tools |
|---|---|---|
| Acrylic Powder | Durable structures | Dappen dishes, powder containers |
| Builder Gel | Flexible designs | UV/LED lamp, silicone tools |
| Polygel | Controlled sculpting | Dual-ended spatulas, forms |
Silicone carving tools have revolutionized 3D nail art, offering flexibility for molding and shaping without product sticking. A set with various tip shapes allows artists to create everything from gentle waves to sharp peaks.
For precision work, consider investing in:
- Metal spatulas for clean product placement
- C-curve pinching tools for structural support
- Nail forms specifically designed for 3D extensions
Embellishment Tools: The Finishing Touch
The final category elevates designs from impressive to extraordinary through strategic embellishments:
- Precision placement instruments
- Wax pencils with replaceable tips
- Reverse tweezers for hands-free holding
- Micro brushes for adhesive application
- Embellishment organization systems
- Compartmentalized containers for size-sorted rhinestones
- Color-coded storage for quick access during client sessions
- Anti-spill trays with textured surfaces
- Application mediums
- Quick-set gel adhesives for rhinestones
- Flexible top coats for encapsulating delicate elements
- Specialized sealants for metal embellishments
The market offers remarkable innovation in rhinestone placement tools, including magnetic wands from Crystal Ninja that hold multiple stones simultaneously, dramatically reducing application time.
Quality control matters: When selecting precision tools, test the grip comfort and tip flexibility. The best instruments respond to subtle pressure changes, allowing for nuanced control over three-dimensional elements.
Remember that investing in professional-grade tools initially costs more but delivers superior results and longevity—ultimately saving money while elevating your artistic capabilities in the competitive world of nail design.
The Professional’s Guide to 3D Nail Design Tools
When you cross the threshold from casual nail art to professional 3D nail design, your tools become extensions of your creative vision. The difference between frustration and flow often comes down to what’s in your hands. Let’s dive into what separates merely functional tools from those worthy of your investment.
Material quality defines tool lifespan
Professional 3D nail artists understand that durability isn’t just about avoiding replacement costs—it’s about consistency in your work. High-grade stainless steel implements resist corrosion and maintain precise edges through thousands of applications.
Surgical-grade stainless steel tools might cost 3-4 times more than basic alternatives, but they’ll maintain their integrity for years rather than months. The difference becomes apparent when working with detailed 3D elements where precision matters.
The most expensive tool is the one you have to buy twice.
When evaluating brushes, look for natural kolinsky sable hair rather than synthetic alternatives. While synthetic technology has improved dramatically, natural bristles still offer superior product pickup and release characteristics essential for detailed 3D work.
Metal handles with balanced weight distribution provide stability during intricate designs, while cheaper plastic handles can create hand fatigue during longer sessions.
Ergonomics matter more than you think
The physical toll of extended nail design sessions is real. Tools with ergonomic considerations prevent the repetitive strain injuries that sideline even the most talented artists.
| Handle Type | Benefits | Best For |
|---|---|---|
| Cushioned Grip | Reduces pressure points | Extended sessions |
| Weighted Balance | Improves control precision | Detailed 3D work |
| Contoured Design | Prevents finger cramping | Artists with arthritis |
The ideal working angle for 3D nail design tools should allow your wrist to remain in a neutral position. Tools with adjustable angles provide customization based on your working style and physical needs.
Consider the diameter of your tools carefully. Handles between 7-9mm typically provide the optimal balance between control and comfort for most hand sizes. Anything smaller creates unnecessary tension in the fingers during prolonged use.
Maintenance rituals extend tool performance
Professional-grade tools demand professional-level care. Establishing proper maintenance routines not only extends their lifespan but ensures consistent performance.
For metal implements:
- Sanitize after each client using Barbicide or similar professional disinfectant
- Remove product residue immediately before it hardens
- Apply light machine oil quarterly to hinged tools
- Store in protective cases rather than loose in drawers
For brushes:
- Clean thoroughly with appropriate brush cleaner after each use
- Reshape bristles while damp to maintain precision points
- Store horizontally or bristle-up in dedicated holders
- Replace protective caps when not in use
The environmental conditions of your storage matter significantly. Humidity control systems in your storage area prevent microscopic rust formation on metal tools and extend the life of natural bristle brushes.
Remember that even the finest tools require replacement eventually. Track the performance of your implements and replace them when you notice the first signs of degradation—before they compromise your work quality.
Discover the essential tools for creating stunning 3D nail designs with our professional selection guide. Learn about quality brushes, sculpting implements, and precision placement instruments that deliver salon-quality results and lasting durability.
Discover the essential tools for creating stunning 3D nail designs with our professional selection guide. Learn about quality brushes, sculpting implements, and precision placement instruments that deliver salon-quality results and lasting durability.