Ever wondered why some auto shops diagnose fuel system issues with pinpoint accuracy while others leave you with recurring problems? The difference often lies in their flow measurement technology and expertise.
At the heart of modern automotive diagnostics sits the humble flow meter—a device that measures the volume of fluids passing through systems with remarkable precision. When properly installed and calibrated, these instruments transform guesswork into science, allowing technicians to detect issues that would otherwise remain invisible until catastrophic failure occurs.
Why precision matters in automotive fluid systems
In automotive applications, even minor measurement inaccuracies can lead to significant consequences. A fuel injection system operating just 5% outside specifications can decrease fuel efficiency by up to 15% and potentially reduce engine lifespan. Accurate flow measurement ensures:
- Optimal performance of cooling systems, fuel delivery, and hydraulic components
- Early detection of developing problems before they cause breakdowns
- Verification that repairs meet manufacturer specifications
- Compliance with emissions standards and environmental regulations
Flow meter varieties in the modern shop
Today’s auto service environments typically employ several specialized flow meter types:
| Type | Best Application | Accuracy Range |
|---|---|---|
| Turbine | Fuel systems | ±0.5% |
| Ultrasonic | Cooling systems | ±1.0% |
| Coriolis | Precision diagnostics | ±0.1% |
| Variable area | Basic fluid checks | ±2.0% |
Safety first: Installation essentials
Before installation begins, proper preparation is critical. You’ll need basic tools like wrenches and screwdrivers, plus specialized equipment including thread sealant compatible with the measured fluid, calibration standards, and appropriate personal protective equipment.
Critical safety note: Always relieve system pressure before installation and ensure electrical isolation when working with electronic flow meters. The difference between a professional installation and a dangerous one often comes down to these fundamental precautions.
Installing Your Flow Meter: The Professional’s Guide
Finding the sweet spot for your flow meter installation can make the difference between guesswork and precision in your auto service operations. The right placement, mounting, and connection techniques aren’t just technical requirements—they’re the foundation of accurate fluid measurement that directly impacts your diagnostic capabilities and service quality.
When tackling a flow meter installation project, professional technicians understand that proper installation and calibration are essential steps that can’t be rushed. How to properly install and calibrate a flow meter in an auto service requires attention to detail and a methodical approach that respects both manufacturer specifications and the unique requirements of your shop environment. Let’s break down this process into manageable steps that ensure optimal performance.
Strategic Placement Decisions
The location of your flow meter isn’t arbitrary—it’s strategic. Position your flow meter in a straight pipe section with at least 10 pipe diameters upstream and 5 pipe diameters downstream from any flow disturbances. This “straight run” requirement prevents turbulence that can throw off readings.
Key placement considerations:
- Avoid proximity to pumps, valves, and elbows
- Ensure accessibility for maintenance
- Select locations with stable temperature conditions
- Mount away from electromagnetic interference sources
For fuel flow meters, placement between the fuel pump and injector rail provides the most accurate consumption data, while coolant flow meters perform best when installed in return lines where pressure fluctuations are minimized.
Mounting Techniques That Preserve Accuracy
Proper mounting isn’t just about keeping the meter in place—it’s about maintaining measurement integrity.
Horizontal mounting typically offers the best results for most automotive applications, especially for liquid measurement. When mounting your Fluke or Omega flow meter, use these professional techniques:
- Install vibration dampeners to isolate the meter from engine vibrations
- Use proper gaskets and sealing compounds rated for your fluid type
- Ensure perfect alignment with the pipe to prevent stress on connections
- Follow torque specifications exactly—over-tightening distorts housings and affects accuracy
Connection and Power Integration
| Connection Type | Best For | Common Challenges |
|---|---|---|
| Threaded | Quick installations | Potential for leaks if overtightened |
| Flanged | High-pressure systems | Requires precise alignment |
| Compression | Smaller diameter lines | May need periodic retightening |
When connecting your flow meter to existing systems, maintain signal integrity by using shielded cables for all electrical connections. Power requirements vary significantly between models—ultrasonic meters typically require 24VDC while mechanical meters may need no external power at all.
For digital flow meters, establish proper grounding to eliminate signal noise. Connect to your shop’s diagnostic system using manufacturer-recommended interfaces, whether that’s a direct USB connection or integration through a CAN-bus adapter.
Verification Testing Protocol
Before considering your installation complete, run these essential verification tests:
- Zero-flow test: With the system off, confirm the meter reads zero
- Known-volume test: Pass a precisely measured volume through the system and verify reading accuracy
- Pressure test: Check for leaks at all connection points under maximum operating pressure
- Signal verification: Confirm your diagnostic equipment receives clear, consistent signals
Document your baseline readings immediately after installation. These initial values become your reference point for future calibration checks and troubleshooting.
By following these installation steps meticulously, you’ll ensure your flow meter delivers the accurate, reliable data that modern automotive diagnostics demand.
Mastering Flow Meter Calibration for Auto Service Excellence
Calibration timing that keeps you ahead
Flow meters in auto service environments aren’t “set and forget” devices. They require regular calibration to maintain accuracy—the lifeblood of quality service. Most manufacturers recommend calibration intervals between 6-12 months, but this timeline shifts based on usage intensity. High-volume shops should calibrate quarterly, while lower-volume operations might stretch to annual checks.
Environmental factors dramatically impact calibration needs. Shops in areas with temperature extremes or high humidity may need more frequent calibration. The critical trigger point comes when measurements begin showing inconsistencies of more than 2%—this is your meter waving a red flag.
The most expensive flow meter isn’t the one that costs the most upfront—it’s the uncalibrated one costing you in customer trust and wasted materials.
Calibration procedure that delivers precision
Starting with preparation makes all the difference. Power down all connected systems and isolate the flow meter from pressure. Using a certified Fluke Calibration device or manufacturer-recommended equipment ensures your baseline measurements meet industry standards.
The step-by-step process follows this proven sequence:
- Zero verification: Ensure no-flow conditions register properly
- Mid-range testing: Test at 50% of maximum flow capacity
- Full-range verification: Confirm accuracy at 90-100% capacity
- Documentation: Record all readings with temperature and humidity notes
For digital flow meters, access the calibration menu (typically by holding specific button combinations) and follow the on-screen wizard. Analog meters require manual adjustment of the calibration screws while comparing against a reference standard.
Troubleshooting calibration challenges
When calibration goes sideways, systematic diagnosis saves hours of frustration. The most common issues stem from these root causes:
| Issue | Likely Cause | Verification Method |
|---|---|---|
| Consistent offset | Zero drift | Verify zero point first |
| Erratic readings | Contamination | Inspect for debris |
| Non-linear response | Sensor damage | Test at multiple flow rates |
| Delayed response | Air in system | Purge lines completely |
Verification after calibration isn’t optional—it’s essential. Run a known quantity through the system and measure the output. The gold standard is achieving repeatability within 0.5% across three consecutive tests.
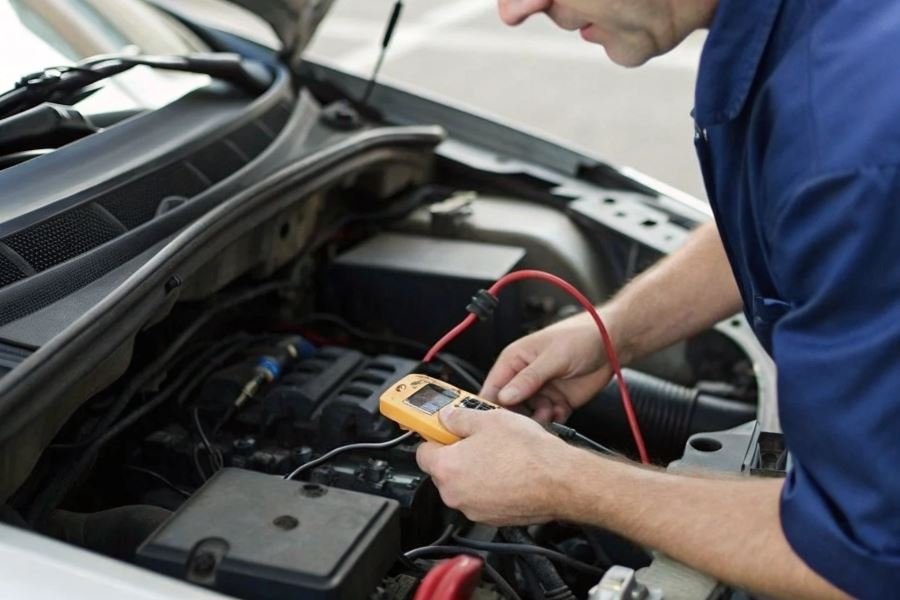
For persistent issues, don’t overlook the power supply. Voltage fluctuations can masquerade as calibration problems, especially with sensitive digital meters. Using a Fluke Multimeter to verify stable power can eliminate this variable.
Documentation practices for lasting accuracy
Calibration without documentation is like premium fuel without a receipt—the value evaporates. Create a calibration log that includes:
- Date and technician information
- Environmental conditions (temperature, humidity)
- Pre-calibration readings at multiple flow points
- Post-calibration verification results
- Parts replaced or adjustments made
- Next scheduled calibration date
Digital record-keeping dramatically improves tracking over time. Software like AutoServe1 allows trend analysis that can predict when a meter is beginning to drift before it affects service quality.
Maintain a calibration certificate file for each meter, especially for those used in warranty work or emissions testing. These certificates become invaluable during quality audits or customer disputes.
The final maintenance step that separates professionals from amateurs: clean the sensor components after calibration using manufacturer-approved methods. This simple practice extends calibration stability by up to 30% in high-particulate environments.
Learn professional flow meter installation and calibration techniques for auto shops. Our step-by-step guide covers optimal placement, proper mounting, accurate calibration procedures, and troubleshooting tips to ensure precise fluid measurements in automotive applications.
Learn professional flow meter installation and calibration techniques for auto shops. Our step-by-step guide covers optimal placement, proper mounting, accurate calibration procedures, and troubleshooting tips to ensure precise fluid measurements in automotive applications.