Ever wondered why some nail designs look flawless while others fall flat? The secret isn’t just skill—it’s the tools in your arsenal.
Starting your journey as a nail technician is exhilarating, but navigating the vast landscape of nail design tools can be overwhelming. The difference between professional-grade results and amateur attempts often comes down to what’s in your toolkit. Quality tools not only elevate your work but also significantly reduce the learning curve as you develop your techniques.
Why quality matters more than you think
Professional nail tools aren’t just about prestige—they’re investments in precision and efficiency. High-quality implements maintain their edge longer, provide better control, and create cleaner results. While premium tools might cost $50-200 more upfront, they typically outlast budget alternatives by years, making them more economical in the long run.
“The tools you choose today will shape your signature style tomorrow. Quality isn’t expensive—it’s priceless.”
Essential categories every beginner needs
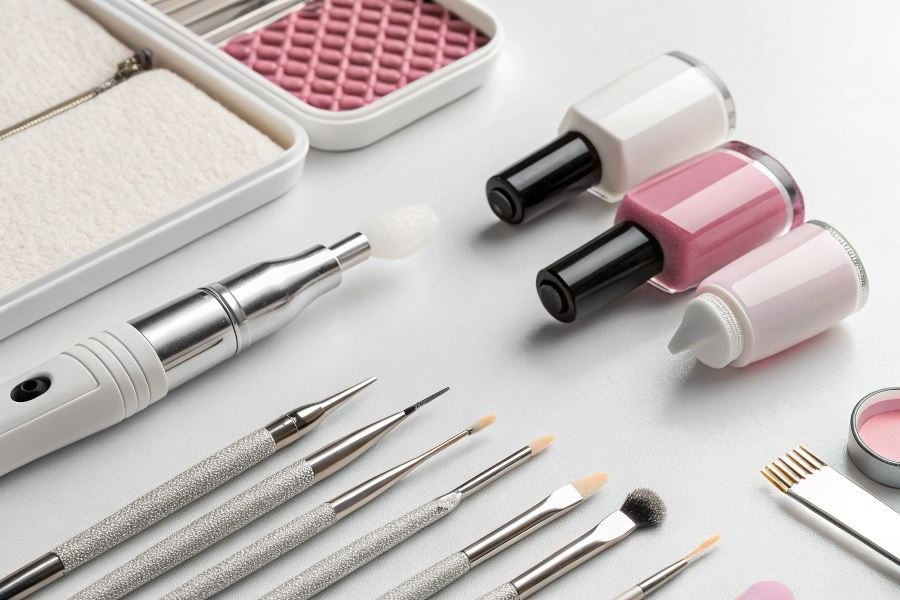
Your starter kit should include these fundamental categories:
- Base tools: Files, buffers, cuticle pushers, and nippers
- Application tools: Brushes (various sizes), dotting tools, and striping tape
- Enhancement essentials: UV/LED lamp, primer, and base/top coats
- Design implements: Stamping plates, foils, and rhinestone pickers
Smart investment strategies
When building your first toolkit, consider these factors:
- Ergonomics – Tools that feel comfortable after hours of use
- Versatility – Multi-purpose items that serve several functions
- Durability – Materials that withstand sanitization without degrading
- Learning curve – Some professional tools require practice but deliver superior results
Remember that your toolkit will evolve as your skills grow. Start with versatile essentials that allow you to master fundamental techniques before expanding into specialized tools for advanced designs.
Essential Nail Design Arsenal: The Tools Every Beginner Needs
Starting your journey as a nail technician requires more than just enthusiasm—it demands the right tools. When selecting equipment for nail design as a beginner master, focus on quality fundamentals that will grow with your skills rather than accumulating every gadget on the market.
Foundation Tools for Perfect Preparation
The canvas preparation stage makes or breaks your nail art. Professional-grade files with varying grits (180/180 for natural nails, 100/180 for acrylics) create the ideal shape and smooth surface. The Anderson 4-Way Buffer Block has revolutionized the industry since its introduction in 2018, offering four textures on a single tool.
For cuticle work, invest in a stainless steel pusher with both flat and curved ends to accommodate different nail beds. Pair this with sharp nippers from trusted brands like Tweezerman or KUPA that offer precision cutting without causing trauma to surrounding tissue.
The difference between amateur and professional results often lies in how meticulously the nail bed is prepared before any product application.
Application Instruments for Flawless Execution
Your brush collection should start with these essentials:
- A #6 round acrylic brush for product application
- Detailing brushes (sizes 00 and 000) for intricate designs
- A flat brush for gradient effects and one-stroke techniques
Dotting tools in various sizes create everything from simple polka dots to complex mandala patterns. For consistent results, a stamping kit with metal plates offers repeatable designs that look hand-painted. The MoYou London plates feature exceptional etching depth for clear transfers.
Electric Essentials Worth the Investment
| Device | Average Price | Primary Function | Why It’s Worth It |
|---|---|---|---|
| E-file (Drill) | $120-200 | Precision filing, cuticle work | Reduces hand fatigue, increases precision |
| LED/UV Lamp | $40-100 | Curing gel products | Consistent results, faster service times |
| Nail Dust Collector | $80-150 | Removes harmful particles | Protects respiratory health, cleaner workspace |
The portable e-file has become indispensable, with the Medicool Pro Power 35K offering the perfect balance of power and control for beginners. Look for models with forward/reverse functions and variable speed settings between 3,000-35,000 RPM.
A quality LED lamp cures gel products in 30-60 seconds compared to the 2+ minutes required by older UV technology. The OPI LED Light features a 50,000-hour bulb life and automatic sensors that activate when hands are inserted.
Finally, don’t underestimate the importance of a dust collector. These devices capture up to 99% of airborne particles created during filing, protecting both you and your clients from respiratory irritation.
Remember that investing in professional-grade tools from the start prevents the frustration of poor performance and the additional expense of frequent replacements. Quality instruments become extensions of your artistic vision, allowing your creativity—not your equipment—to set the limits of your nail design potential.
Quality Nail Design Tools That Stand the Test of Time
Material Matters in Tool Selection
The foundation of exceptional nail art begins with the materials your tools are made from. Stainless steel implements dominate the professional landscape for good reason—they resist corrosion, maintain sharpness, and withstand repeated sanitization. When examining cuticle nippers or scissors, look for surgical-grade stainless steel (420 or 440C) that offers superior edge retention.
For nail files, diamond-coated metal files represent the gold standard, offering precision shaping without the degradation that plagues lesser materials. Glass files (also called crystal files) provide a gentler alternative that seals the nail edge rather than roughly filing it—a crucial distinction for natural nail health.
Brushes deserve special attention: synthetic bristles excel for gel application, while natural sable or kolinsky hair brushes remain unmatched for detailed nail art. The difference becomes immediately apparent in line precision and product control.
Pro tip: Test metal quality with a simple magnet test—high-quality stainless steel exhibits minimal magnetic attraction compared to cheaper alloys that may rust prematurely.
Investment Spectrum: Budget vs. Professional Tools
The price gap between entry-level and professional nail tools can be substantial, but understanding where to invest makes all the difference:
| Tool Category | Budget Option | Professional Option | Worth the Upgrade? |
|---|---|---|---|
| Cuticle Nippers | $15-25 | $80-120 | YES – Precision cutting reduces damage |
| E-file/Drill | $30-50 | $200-400 | PARTIAL – Begin with mid-range, upgrade later |
| Gel Brushes | $5-10 set | $15-30 each | YES – For detailed work only |
| UV/LED Lamp | $25-40 | $100-200 | YES – Even curing prevents service failures |
Smart beginners adopt a hybrid approach: invest in professional-grade tools for items that directly impact nail health and service quality (nippers, primary files), while starting with mid-range options for less critical items.
Remember that false economy often proves expensive—a $20 nipper that dulls quickly costs more in the long run than a $100 tool that performs flawlessly for years.
Extending Tool Lifespan Through Proper Maintenance
The difference between tools that last months versus years often comes down to maintenance habits:
-
Implement a post-service cleaning ritual: Remove all product residue immediately after use. For metal tools, use 70% isopropyl alcohol; for brushes, use the appropriate solvent (acetone for acrylic, brush cleaner for gel).
-
Sanitize correctly: Understand the difference between cleaning and disinfection. After cleaning, use an EPA-registered disinfectant specifically formulated for salon tools.
-
Store with intention: Dedicated storage systems prevent damage from tools contacting each other. Brushes should be stored horizontally or with caps to maintain bristle shape.
-
Sharpen strategically: Professional sharpening services can revitalize metal implements, but only when performed by technicians who understand nail tool geometry.
-
Rotate your arsenal: Having duplicate tools allows proper disinfection time and reduces wear on any single implement.
The most expensive tool is the one you have to replace repeatedly. With proper care, quality nail design tools become career companions rather than disposable expenses—a distinction that separates professionals from amateurs in both results and profitability.
Discover the essential nail design tools every beginner needs for professional results. Learn how to select quality implements, from basic files to electric devices, with expert tips on materials and maintenance for long-lasting performance.
Discover the essential nail design tools every beginner needs for professional results. Learn how to select quality implements, from basic files to electric devices, with expert tips on materials and maintenance for long-lasting performance.