Ever wondered why some gel nail extensions look salon-perfect while others chip within days? The secret lies not in luck, but in understanding the fundamentals of nail extension gels and making informed choices from the start.
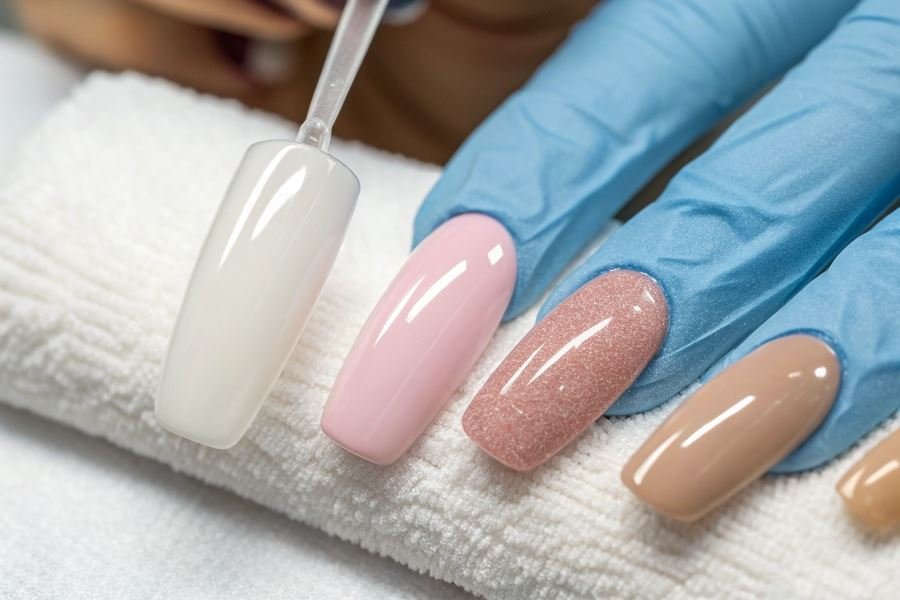
Nail extension gel is a specialized polymer formulation designed to create length and strength beyond your natural nail. Unlike regular nail polish that simply coats the surface, or traditional acrylics that require liquid monomer mixing, extension gels cure under UV or LED light to create a durable, flexible enhancement. This light-curing technology creates a chemical reaction that transforms the gel from liquid to solid, forming a bond that can last weeks with proper application.
The professional advantage
Professional-grade extension gels offer significant benefits over budget alternatives:
- Superior durability – Professional formulations resist lifting, chipping, and yellowing
- Enhanced flexibility – Premium gels move with your natural nail, reducing breakage risk
- Healthier application – Quality gels typically contain fewer harsh chemicals and irritants
As nail technician Sarah Nguyen notes, “The difference between professional and bargain gels becomes obvious after about day seven—one maintains its shine and structure, the other begins to deteriorate.”
Essential toolkit for success
Creating stunning gel extensions requires more than just the gel itself:
| Must-Have Tools | Purpose |
|---|---|
| UV/LED lamp | Cures gel to hardened state |
| Base and top coat | Ensures adhesion and protection |
| Nail file/buffer | Prepares natural nail surface |
| Nail forms/tips | Provides structure for extension |
| Brush | Applies gel with precision |
The investment in quality tools pays dividends in longevity and appearance. A proper 36W+ lamp ensures complete curing, while a fine-bristled brush allows for controlled application—especially important when creating that critical apex point that prevents breakage.
Key Factors for Selecting the Perfect Nail Extension Gel
Choosing the right nail extension gel can make the difference between professional-looking results and a frustrating experience. For those just starting their journey into nail extensions, understanding the technical aspects of these products is crucial. How to choose a nail extension gel: a guide for beginners requires focusing on three critical factors that will significantly impact your success rate: viscosity, self-leveling properties, and curing requirements.
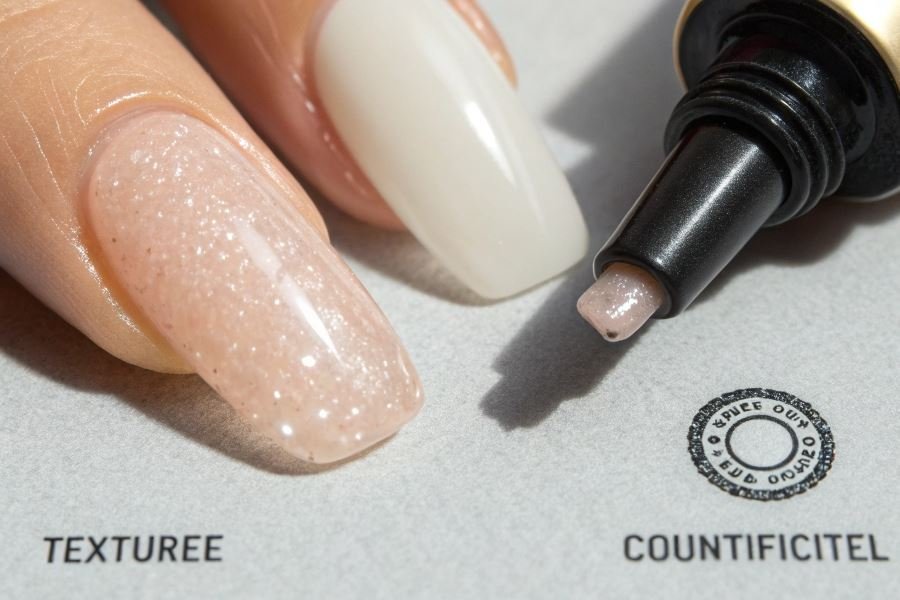
Viscosity: Finding Your Flow
Viscosity might sound technical, but it’s simply how thick or thin a gel is—and it matters tremendously for beginners.
High viscosity gels (thick consistency):
- Remain where placed without running
- Excellent for building structure and creating apex
- Provide more control for detailed work
- Require more skill to manipulate and smooth
Medium viscosity gels:
- Balance between control and workability
- Perfect starting point for most beginners
- Allow reasonable working time before curing
- Easier to create natural-looking extensions
Low viscosity gels (thin consistency):
- Self-spread across the nail
- Require quick work before they run
- Create thinner, more natural-looking layers
- Better for experienced technicians
For beginners, medium viscosity gels from brands like Gelish or CND offer the best balance between control and ease of application.
Self-Leveling vs. Non-Self-Leveling Formulas
The difference between these formulations dramatically affects your application technique:
| Property | Self-Leveling | Non-Self-Leveling |
|---|---|---|
| Behavior | Smooths itself out | Stays exactly where placed |
| Learning curve | Easier for beginners | Steeper learning curve |
| Control | Less precise placement | Complete structural control |
| Best for | Natural-looking overlays | Dramatic extensions, art |
| Working time | Shorter (must work quickly) | Longer (until cured) |
Self-leveling gels smooth themselves out after application, filling in minor imperfections and creating a glass-like finish. Brands like OPI GelColor offer excellent self-leveling properties that forgive minor application errors—a blessing for beginners.
Non-self-leveling gels stay exactly where you place them, making them ideal for building structure but requiring more skill to achieve a smooth finish. These are typically used for dramatic extensions or nail art where precise control is essential.
Curing Requirements and Lamp Compatibility
Your gel is only as good as its ability to cure properly:
LED curing:
- Faster curing times (30-60 seconds)
- More energy-efficient
- Higher initial investment ($40-200)
- Not all gels are LED-compatible
UV curing:
- Universal compatibility with all gel formulas
- Longer curing times (2-3 minutes)
- Bulbs require periodic replacement
- More affordable entry point ($20-80)
Dual UV/LED lamps like those from Kiara Sky offer versatility for beginners who might experiment with different gel brands.
Pro tip: Always check the manufacturer’s specifications for curing times and compatible lamp types. Under-cured gel leads to lifting, while over-curing causes brittleness.
The wattage of your lamp matters significantly—higher wattage (36W+) cures faster and more thoroughly. Most professional-grade gels require a minimum of 36W for proper polymerization, though some newer formulations work with lower-powered portable lamps.
When selecting your first nail extension gel, prioritize medium viscosity, self-leveling formulas that are compatible with the lamp you own or plan to purchase. This combination provides the most forgiving learning environment while still delivering professional-looking results.
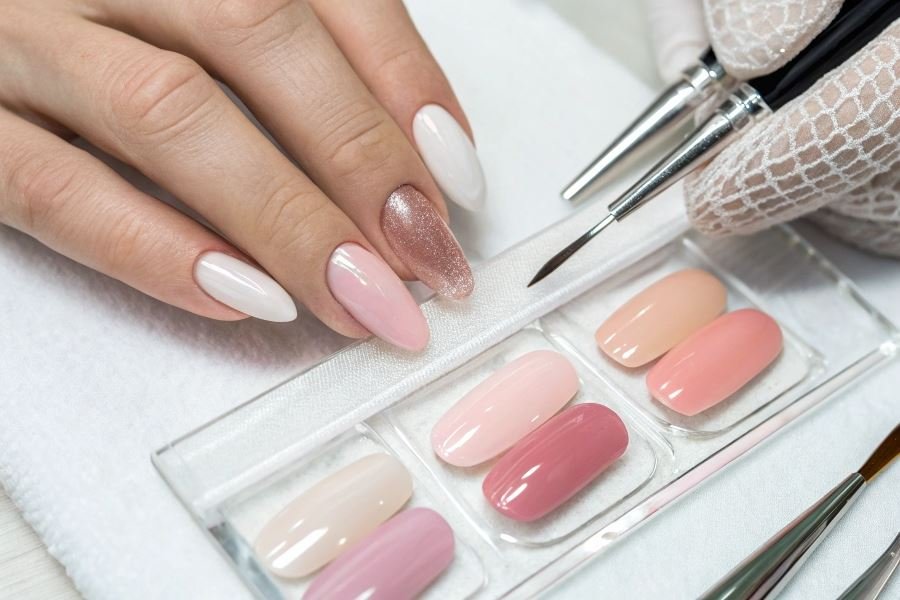
Top Nail Extension Gel Systems for Beginners
When stepping into the world of nail extensions, choosing the right gel system can make the difference between frustration and fabulous results. The market offers numerous options, but three gel types consistently stand out for beginners: hard gels, builder gels, and poly gels. Each brings unique advantages to your nail table, allowing you to create extensions that suit both your skill level and your clients’ needs.
Hard Gels Deliver Unmatched Durability
Hard gels have earned their reputation as the workhorses of nail extension systems. These professional-grade products create incredibly strong enhancements that resist lifting, cracking, and breaking—even under significant stress.
Key benefits for beginners:
- Exceptional structural integrity for clients with active lifestyles
- Minimal shrinkage during curing, reducing the risk of lifting
- Superior resistance to solvents (cannot be soaked off)
- Excellent for creating dramatic length and structural support
Hard gels like CND Brisa and Light Elegance require proper filing for removal, making them perfect for clients seeking long-lasting wear. The learning curve is steeper than with other systems, but the durability results make mastering this technique worthwhile.
Hard gels create extensions that can withstand weeks of daily activities while maintaining their shine and structure—perfect for clients who work with their hands.
Builder Gels Offer Versatile Application
Builder gels strike an ideal balance between strength and user-friendliness, making them particularly appealing to those new to extensions.
Why beginners gravitate toward builder gels:
- Self-leveling properties that help create smooth, even applications
- Medium-viscosity formula that doesn’t run into cuticles
- Versatile enough for overlays, extensions, and sculpting
- Available in various viscosities for different techniques
Gelish Structure Gel and Akzéntz Options exemplify the builder gel category, offering enough working time to perfect your application before curing. Their moderate flexibility creates extensions that move naturally with the nail bed while maintaining impressive durability.
| Builder Gel Feature | Benefit to Beginners |
|---|---|
| Self-leveling | Reduces application errors |
| Medium viscosity | Easier control during application |
| Flexible finish | Less prone to shocking impacts |
| Soak-off options available | Simpler removal process |
Poly Gels Combine Convenience With Control
The newest innovation among these three systems, poly gels brilliantly merge the strength of acrylics with the application ease of gels.
Standout qualities for new technicians:
- No-run, no-drip formula stays exactly where placed
- Extended working time (cures only under lamp)
- Lightweight feel that clients appreciate
- Reduced odor compared to traditional acrylics
Products like Gelish PolyGel and Aprés Gel-X have revolutionized the extension process with their putty-like consistency. Using a brush dipped in solution, you can manipulate poly gel indefinitely until you’re satisfied with the shape and placement.
Application technique comparison:
- Hard gels: Apply, shape quickly, cure
- Builder gels: Apply, self-levels somewhat, cure
- Poly gels: Apply, shape at your leisure, cure when ready
For beginners concerned about timing and precision, poly gels offer the most forgiving learning experience while still delivering professional-quality results. Their unique formulation allows you to create extensions with the perfect apex and stress points without rushing through the application.
Discover how to choose the perfect nail extension gel with our comprehensive beginner's guide. Learn about viscosity levels, formula types, and top recommended products for beautiful, professional-looking nails at home.
Discover how to choose the perfect nail extension gel with our comprehensive beginner's guide. Learn about viscosity levels, formula types, and top recommended products for beautiful, professional-looking nails at home.