Ever watched a master watchmaker delicately manipulate tiny gears with seemingly magical precision? That same level of finesse is essential when repairing your smartphone, tablet, or other electronic devices. The difference between success and a $500 mistake often comes down to one thing: knowing how to properly handle your tools.
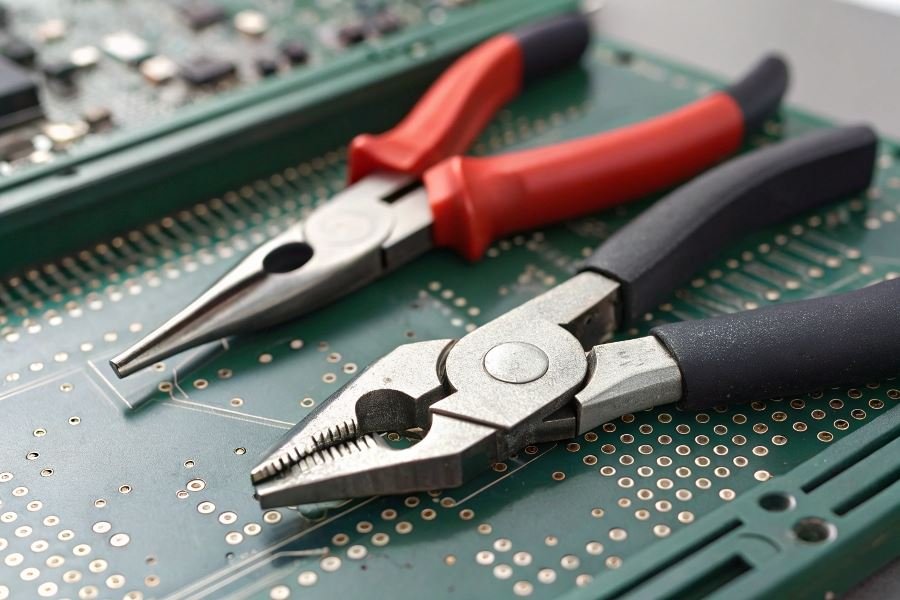
When tackling intricate circuit boards and microscopic components, standard household pliers are like using a sledgehammer to hang a picture frame. Electronics repair demands specialized tools designed for precision work. Needle-nose pliers with fine tips allow you to grip and position components without damaging surrounding elements, while flush cutters make clean snips that prevent short circuits from stray wire ends.
The right pliers make all the difference. Electronics-grade tools feature ESD (electrostatic discharge) protection—preventing static electricity from silently destroying sensitive components. Premium options include titanium-coated tips that resist corrosion and maintain grip precision over years of use.
Safety first: Always disconnect power sources before beginning work. When manipulating components, hold pliers by their insulated handles and apply minimal pressure—just enough to secure components without crushing them. Remember that many modern electronics contain capacitors that can store electrical charges even when unplugged.
The most successful repairs happen when your tools become natural extensions of your fingers—precise, controlled, and responsive. With proper technique, you’ll transform from frustrated amateur to confident technician, extending the life of devices that would otherwise end up in landfills.
Essential Techniques for Mastering Pliers in Electronics Repair
When it comes to the delicate art of electronics repair, your tools are only as effective as your technique. Precision instruments demand precision handling, and few tools are as fundamental yet frequently misused as pliers. Learning how to properly use pliers when repairing small electronics can mean the difference between a successful fix and a costly mistake. The right approach transforms these simple hand tools into extensions of your fingertips, capable of manipulating components too small or delicate for human hands alone.
The Foundation: Grip and Hand Positioning
The relationship between your hand and your pliers creates the foundation for all repair work. A proper grip begins with selecting the right pliers for the job—needle-nose for precision work, flat-nose for broader components, and round-nose for creating wire loops.
Position your dominant hand on the handles with your thumb and fingers wrapped comfortably around them. The crucial detail many overlook: place your index finger slightly forward on the upper handle for enhanced control. This “choked up” position reduces leverage but dramatically increases precision.
Your non-dominant hand should stabilize the workpiece or provide counter-pressure when needed.
For maximum control during intricate operations:
- Keep your wrist straight, not bent
- Position elbows close to your body
- Work at eye level to maintain proper perspective
- Use your pinky finger against the work surface as a stabilizer
The Gentle Touch: Pressure Control with Fragile Components
When working with delicate circuit boards and miniature components, pressure management becomes critical. The difference between success and disaster often comes down to mere ounces of force.
The master technician develops a “feel” for components—knowing exactly how much pressure will secure without crushing.
Practice these pressure-control techniques:
- Progressive pressure application: Start with minimal force and increase gradually until you achieve the necessary grip
- Pulse-grip technique: Briefly apply and release pressure to test component resilience
- Use the middle section of the plier jaws rather than the tips for more even pressure distribution
| Component Type | Recommended Grip Pressure | Warning Signs |
|---|---|---|
| Surface-mount capacitors | Feather-light | Any visible flexing |
| Wire connections | Moderate | Insulation compression |
| Metal connectors | Firm | Visible deformation |
Precision Movements: The Choreography of Repair
The final element of plier mastery lies in developing controlled, deliberate movements. Successful technicians approach each repair as a choreographed sequence rather than isolated actions.
When manipulating small parts and wires:
- Stabilize before gripping: Position your hands and body before attempting to grasp components
- Minimize movement arcs: Keep motions small and controlled
- Use the “pivot and place” technique: Grip the component, pivot your wrist to position, then place with minimal adjustment
- Develop a two-plier technique for complex manipulations—one to hold, one to bend or shape
For wire manipulation specifically, master the 90-degree bend technique using the rounded portion of needle-nose pliers as a forming mandrel. This creates consistent, stress-free bends that maintain wire integrity while achieving professional-looking results.
Remember that precision doesn’t necessarily mean slow—it means deliberate. With practice, these techniques become second nature, allowing you to work efficiently while maintaining the control necessary for successful electronics repair.
Mastering Pliers for Small Electronics Repair
When precision meets power in the palm of your hand, you’ve got the essence of using pliers in electronics repair. Far from being just another tool in your arsenal, properly wielded pliers can transform frustrating repair jobs into satisfying victories. Let’s dive into the applications that separate amateur tinkerers from repair wizards.
Wire Manipulation Mastery
The foundation of electronics repair often begins with wire work. Using needle-nose pliers for precision bending creates professional-looking 90-degree angles essential for clean PCB connections. When stripping wire insulation, the technique matters tremendously—grip just firmly enough to bite through the coating without nicking the conductor beneath.
The difference between a successful repair and a frustrating failure often lies in how you handle the first 30 seconds of wire preparation.
For optimal results when cutting wire, position the cut point deep in the jaws near the pivot point where leverage is greatest. This technique reduces hand fatigue during extended repair sessions and delivers cleaner cuts. The Klein Tools D203-8 model exemplifies the precision needed for delicate electronics work, with its tapered nose reaching tight spaces while maintaining control.
Component Manipulation Techniques
Removing and installing components requires finesse that only comes with proper plier selection and technique:
| Component Type | Recommended Plier | Key Technique |
|---|---|---|
| Surface Mount | Reverse-action tweezers | Apply even pressure from sides |
| Through-hole | Flat-nose pliers | Rock gently while pulling straight up |
| Heat sinks | Slip-joint pliers | Grip outer edges only |
When extracting ICs or small capacitors, flat-nose pliers with insulated handles prevent static discharge while providing the necessary leverage. The technique involves applying gentle, even pressure while supporting the board from beneath—never pull from just one side of a component.
For installing new components, use pliers to pre-bend leads to match PCB hole spacing before insertion. This reduces stress on the component body and creates more reliable solder joints. The Wiha precision pliers excel at this task with their precisely machined jaws that won’t mar delicate component leads.
Troubleshooting Pliers Problems
Even experienced technicians encounter challenges when using pliers on delicate electronics. The most common mistake—applying excessive force—results in crushed components or cracked circuit boards. The solution lies in practicing graduated pressure: start with minimal grip and increase incrementally until the component just begins to move.
Another frequent error involves using magnetized pliers near sensitive components. Demagnetize your tools regularly using a dedicated Hakko demagnetizer to prevent data corruption in magnetic storage devices or interference with compass sensors.
Jaw misalignment from dropped pliers can cause uneven pressure distribution. Test your pliers by closing them and holding them up to a light source—no light should pass between the jaws. If alignment issues appear, precision-ground replacement pliers are often more cost-effective than attempting repairs.
The final troubleshooting tip addresses slippage during critical operations. Rather than increasing grip pressure (which risks component damage), apply a small piece of heat-resistant silicone tubing over plier tips to increase friction without adding stress to delicate parts.
Master these techniques, and you’ll transform from someone who merely owns pliers to someone who truly wields them with the precision electronics repair demands.
Master the art of using precision pliers for small electronics repair. Learn essential techniques for wire manipulation, component handling, and delicate repairs with the right tools and proper pressure to avoid damage to fragile circuitry.
Master the art of using precision pliers for small electronics repair. Learn essential techniques for wire manipulation, component handling, and delicate repairs with the right tools and proper pressure to avoid damage to fragile circuitry.