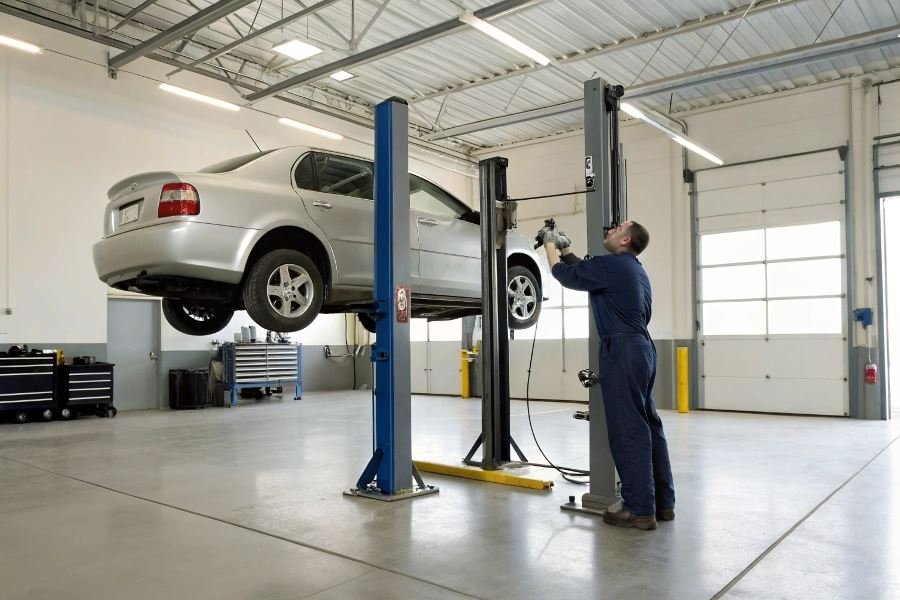
Ever watched a professional mechanic effortlessly raise a 4,000-pound vehicle with the press of a button? That seamless operation isn’t magic—it’s the result of proper installation in a suitable environment. When a car lift fails, it doesn’t just damage vehicles; it endangers lives.
The journey to safely installing a car lift begins long before the equipment arrives at your garage or shop. Proper preparation of your premises isn’t just recommended—it’s critical. From concrete specifications to ceiling height requirements, every detail matters when you’re creating a space where multi-ton vehicles will be suspended above your head.
Different lift styles demand different accommodations. Two-post lifts, the workhorses of professional shops, require reinforced concrete floors at least 4 inches thick. Four-post lifts distribute weight more evenly but demand more square footage. Scissor lifts offer space efficiency but have unique anchoring needs. Each type presents its own installation challenges and safety considerations.
Before breaking ground on your installation project, you’ll need to assess:
- Floor strength and thickness (typically 3,000+ PSI concrete)
- Ceiling clearance (add vehicle height plus 2 feet to lift height)
- Electrical requirements (most commercial lifts need 220V service)
- Accessibility and workflow considerations
“The quality of your installation directly determines the safety of your operation for years to come.”
Remember that local building codes, manufacturer specifications, and professional certification requirements will all influence your installation process. Taking shortcuts during setup inevitably leads to dangerous compromises during operation.
Structural Foundations for Car Lift Installation
When setting up a professional-grade car lift in your garage or workshop, the structural requirements are just as critical as the lift itself. The success of your car lift installation hinges on three key structural elements that demand careful consideration before you even purchase your equipment. Let’s dive into the essential structural and spatial requirements for properly installing a car lift: requirements for the premises include specific ceiling heights, concrete specifications, and clearance zones that will determine whether your space can safely accommodate the lifting system you have in mind.
Reaching New Heights: Ceiling Clearance Requirements
The vertical space above your lift represents your first major consideration. Different lift models demand different ceiling heights:
- Two-post lifts: Typically require 11-12 feet minimum ceiling height
- Four-post lifts: Generally need 10-11 feet
- Scissor lifts: Can operate with as little as 8-9 feet for low-rise models
Always add an additional 2-3 inches beyond the maximum raised height of the vehicle plus lift to ensure adequate clearance for lighting fixtures and ventilation systems.
For specialty applications like servicing high-profile vehicles or installing a lift with tall columns, you might need ceilings approaching 14 feet. Measure twice, purchase once!
The Foundation Factor: Floor Specifications
Your floor isn’t just something you stand on—it’s the critical foundation supporting thousands of pounds of machinery and vehicles.
| Floor Component | Minimum Specification | Ideal Specification |
|---|---|---|
| Concrete thickness | 4 inches | 6+ inches |
| Concrete PSI rating | 3,000 PSI | 4,000+ PSI |
| Concrete age | 28 days cured | 90+ days cured |
| Rebar reinforcement | #3 rebar grid | #4 rebar grid |
Never install a lift on cracked, damaged, or sloped concrete. The concrete should be level within 1/4 inch across the installation area. For two-post lifts, the concrete pad should extend at least 4 feet beyond the anchor points in all directions.
If your existing floor doesn’t meet these specifications, consider consulting with a structural engineer from American Concrete Institute to determine if reinforcement is possible or if a new pour is necessary.
Room to Breathe: Operational Space Requirements
The footprint of your lift is just the beginning—you need operational space around it:
- Side clearance: Minimum 3 feet on each side (5+ feet recommended)
- Front/rear approach: 10+ feet for vehicle positioning
- Ceiling obstructions: Watch for beams, lights, door tracks, and HVAC ducts
- Work zones: Allow 3-4 feet around the perimeter for technician movement
Consider the swing radius of vehicle doors when elevated—a commonly overlooked detail that can lead to damaged doors and frustrated mechanics.
For commercial installations, remember that OSHA regulations may require additional clearance zones and safety markings. The operational efficiency of your workspace depends on thoughtful planning of these clearance zones before installation begins.
When mapping your space, use painter’s tape to outline the exact footprint of your proposed lift plus clearance zones. This simple visualization technique helps identify potential conflicts with existing equipment, storage, or workflow patterns that might not be immediately obvious on paper.
Your Ultimate Car Lift Installation Checklist
Professional inspection and certification requirements
Installing a car lift isn’t truly complete until it passes professional inspection. The American Lift Institute (ALI) certification is the gold standard in the industry, ensuring your lift meets crucial safety benchmarks. After installation, schedule an inspection with a qualified ALI-certified inspector who will verify load capacity, structural integrity, and safety mechanism functionality.
Most municipalities require this certification before you can legally operate your lift. Documentation matters – keep all inspection certificates accessible for insurance purposes and potential regulatory visits. Many insurance providers won’t cover accidents involving non-certified equipment, making this step non-negotiable.
The difference between a properly certified lift and one that isn’t can be measured in thousands of dollars in liability exposure and, more importantly, in safety.
Remember that certification requirements vary by state and local jurisdiction. Some areas mandate annual re-certification, while others require inspection after any major repair or modification. Always check local building codes before assuming your certification schedule.
Maintenance considerations for long-term operation
A properly installed car lift requires systematic maintenance to deliver years of safe service. Create a maintenance schedule that includes:
- Daily visual inspections of cables, chains, and hydraulic components
- Weekly lubrication of moving parts according to manufacturer specifications
- Monthly testing of safety locks and emergency systems
- Quarterly professional inspection of structural components
Document every maintenance activity in a dedicated logbook. This creates an audit trail that proves diligence if questions ever arise about equipment condition.
Hydraulic systems require particular attention – check fluid levels monthly and perform complete fluid changes according to manufacturer recommendations. Most quality lifts need hydraulic fluid replacement every 3-5 years depending on usage patterns.
Temperature fluctuations affect lift performance significantly. In colder climates, consider installing heating systems to maintain hydraulic fluid viscosity. In high-humidity environments, implement corrosion prevention measures for exposed metal components.
Key premises requirements and best practices
Your successful car lift operation depends on meeting these fundamental requirements:
| Requirement | Specification | Why It Matters |
|---|---|---|
| Concrete thickness | Minimum 4-6 inches (lift-dependent) | Prevents cracking and structural failure |
| Concrete cure time | 28+ days for new pours | Ensures rated strength achievement |
| Ceiling height | Minimum 12 feet (varies by lift type) | Accommodates fully raised vehicles |
| Floor levelness | Maximum 3° slope | Prevents uneven loading and premature wear |
| Electrical supply | 220V/30A dedicated circuit typical | Ensures consistent power without overloads |
Never compromise on concrete specifications. The most common installation failure stems from inadequate foundation strength. For two-post lifts, ensure anchor bolts penetrate at least 3.25 inches into the concrete and maintain minimum edge distances of 8 inches.
Proper lighting deserves special attention – install shadow-free lighting systems that illuminate the undercarriage of raised vehicles. This seemingly minor detail significantly improves safety and work quality.
Finally, create clear operational zones around your lift. Mark the floor with non-slip safety tape to designate work areas, walkways, and keep-clear zones. This simple visual management technique prevents accidents and improves workflow efficiency.
By adhering to these professional standards, certification requirements, and maintenance protocols, your car lift installation will deliver years of safe, productive service while protecting your investment and the safety of everyone in your facility.
Discover essential requirements for proper car lift installation in your garage, including ceiling height, concrete specifications, and safety clearances. Expert guide for safe, compliant automotive equipment setup.
Discover essential requirements for proper car lift installation in your garage, including ceiling height, concrete specifications, and safety clearances. Expert guide for safe, compliant automotive equipment setup.

