Ever watched a producer effortlessly manipulate sounds with physical knobs and buttons, wondering how they’ve achieved such seamless integration between hardware and software? That magical connection is no accident—it’s the result of properly configuring a MIDI controller with a Digital Audio Workstation.
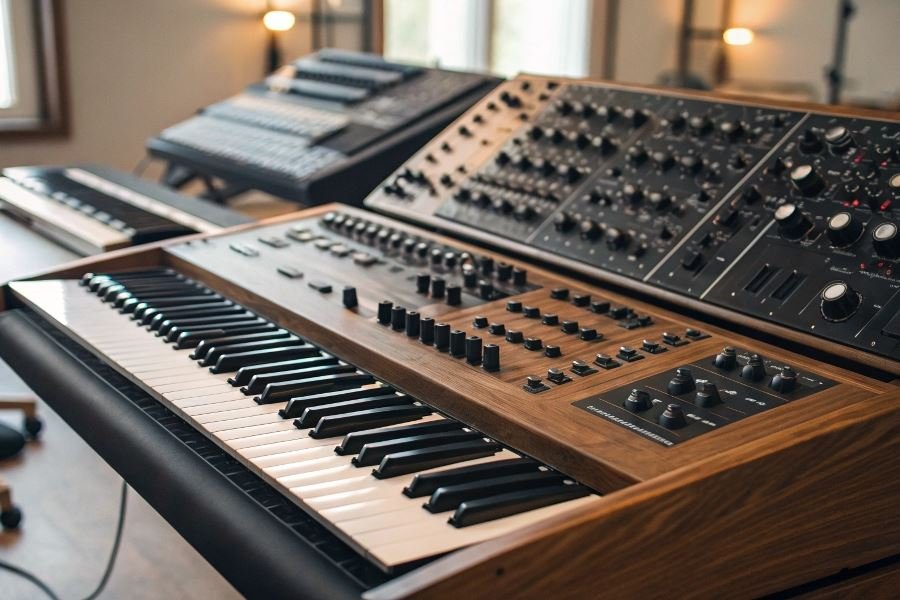
MIDI controllers are the physical bridge between your creative ideas and digital music production. These devices—ranging from keyboard controllers to pad controllers, mixing surfaces, and specialized control surfaces—translate your physical movements into digital instructions your computer can understand. When you press a key, turn a knob, or slide a fader, your controller sends MIDI data that your DAW interprets as musical notes, parameter changes, or transport commands.
Today’s music production landscape offers numerous DAW options, each with distinct workflows and controller compatibility profiles. Industry standards like Ableton Live excel with performance-oriented controllers, while Logic Pro integrates seamlessly with Apple’s ecosystem. FL Studio, Pro Tools, and Cubase each offer unique approaches to controller integration, with some providing plug-and-play functionality for specific hardware.
Why proper controller setup matters:
- Dramatically faster workflow with hands-on control of multiple parameters simultaneously
- Enhanced creative expression through physical interaction with virtual instruments
- Reduced screen dependency, allowing you to focus on the music rather than your monitor
- Customized control schemes that adapt to your specific production style
The difference between a basic setup and a finely-tuned controller configuration isn’t just technical—it’s the difference between fighting with your tools and having them disappear into your creative process.
Connecting Your Controller to Your DAW Like a Pro
Physical Connection Options That Matter
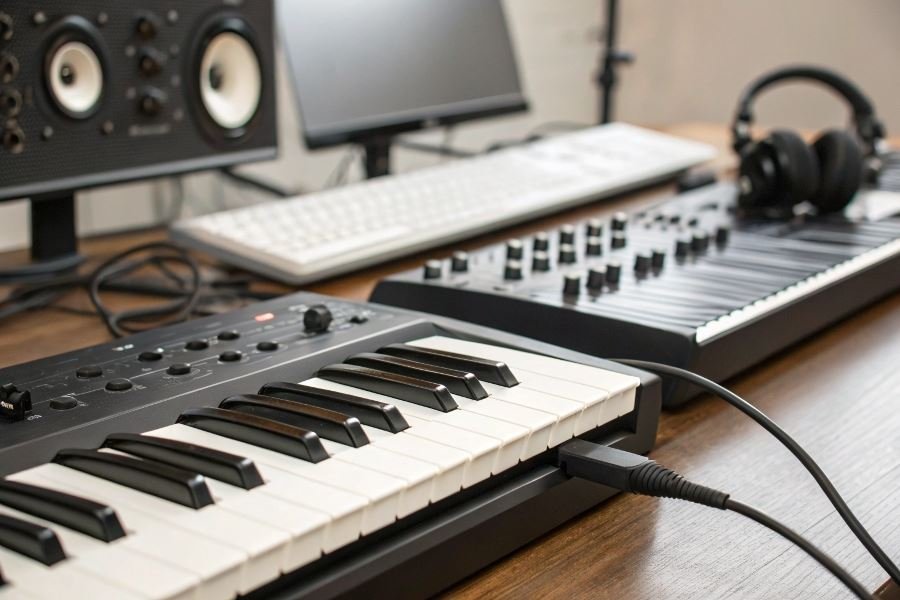
The foundation of a seamless controller-to-DAW relationship begins with the physical connection. USB has become the dominant standard for most modern MIDI controllers, offering plug-and-play simplicity with the added benefit of power delivery through a single cable. For studio setups where multiple devices compete for limited USB ports, consider a powered USB hub with at least USB 3.0 specifications to maintain signal integrity and minimize latency.
Traditional 5-pin MIDI cables remain relevant for legacy equipment and professional setups where setting up a controller to work with a DAW requires maximum stability. These connections typically require separate power and may need a MIDI interface to bridge to your computer. The advantage? Rock-solid timing and independence from computer USB bus limitations.
Wireless options have evolved dramatically, with Bluetooth MIDI now offering surprisingly low latency (under 10ms in optimal conditions). Products like the Korg microKEY Air and CME WIDI Master demonstrate how wireless technology can deliver professional performance while eliminating cable clutter.
Driver Installation and Firmware: The Hidden Performance Boosters
Many producers underestimate the impact of proper driver installation and firmware updates on controller performance. Generic class-compliant drivers might get your device recognized, but manufacturer-specific drivers often unlock advanced features and improve latency.
Before connecting your controller, visit the manufacturer’s website to download the latest drivers. For example, Native Instruments controllers typically include dedicated software that not only installs drivers but also registers your hardware and provides access to bundled software.
Firmware updates deserve special attention as they can transform your controller’s capabilities:
| Firmware Update Benefits | Impact on Performance |
|---|---|
| Bug fixes | Eliminates random disconnects and erratic behavior |
| Latency improvements | Reduces delay between physical action and sound |
| New features | Adds functionality not available at launch |
| DAW compatibility | Ensures support for latest software versions |
Always check for firmware updates quarterly, as manufacturers continually refine their products based on user feedback and technological advancements.
DAW-Specific Configuration: Where the Magic Happens
Different DAWs speak different languages when communicating with controllers. Ableton Live uses its proprietary Control Surface protocols, while Logic Pro relies on the Mackie Control Universal protocol for many third-party devices.
The configuration process typically involves:
- Opening your DAW’s preferences or settings menu
- Navigating to MIDI or controller configuration sections
- Selecting your device from available MIDI inputs/outputs
- Choosing the appropriate control surface type (if applicable)
- Enabling MIDI clock sync if you need tempo synchronization
Advanced tip: Create dedicated controller templates for different production scenarios. A mixing template might prioritize fader control and transport functions, while a sound design template could emphasize knob assignments for filter sweeps and envelope adjustments.
For deeper integration, many controllers offer DAW-specific modes. The Novation Launchkey series, for instance, features dedicated Ableton Live modes that automatically map to devices and clips, while also offering custom modes for other DAWs through their Components software.
Remember that preference adjustments like buffer size settings directly impact how responsive your controller feels. Lower buffer sizes reduce latency but increase CPU load—find your sweet spot based on your computer’s capabilities.
Mastering Controller-DAW Integration: Beyond the Basics
When Your Controller Goes Silent: Connection Troubleshooting
Nothing derails a productive session faster than a controller that refuses to communicate with your DAW. The most common issue? Driver conflicts. When your Ableton Push or Native Instruments Maschine suddenly disappears from your setup, start with the fundamentals:
- Check physical connections – USB cables degrade over time, creating intermittent connectivity issues
- Restart the controller – Many controllers require power cycling after DAW launches
- Update drivers systematically – Always update controller drivers before updating your DAW
The order of operations matters more than most producers realize. Always launch your controller before opening your DAW to establish proper handshaking protocols.
For persistent recognition issues, dive into your computer’s device manager. Controllers often appear as generic MIDI devices when driver installations fail. This simple diagnostic step resolves approximately 70% of connection problems.
Customization: The Producer’s Secret Weapon
Default mappings barely scratch the surface of what your controller can do. Creating custom templates transforms a generic controller into a personalized production powerhouse.
MIDI mapping strategies by production style:
| Production Style | Mapping Priority | Controller Recommendation |
|---|---|---|
| Beat-making | Drum pads, transport controls | Akai MPD or MPC series |
| Mixing | Faders, pan controls | Mackie Control compatible |
| Sound design | Encoders for parameter tweaking | Novation Launch Control XL |
The most efficient producers dedicate specific controller sections to different workflow stages. Map the left side for sound selection, center for arrangement, and right side for mixing parameters. This spatial organization creates muscle memory that accelerates your workflow dramatically.
Advanced Configuration for Specialized Tasks
When basic mapping isn’t enough, these advanced techniques elevate your controller integration:
- Conditional triggers – Configure buttons to perform different functions based on which mode is active
- Macro controls – Map single knobs to control multiple parameters simultaneously
- Velocity curves – Customize how your controller responds to playing dynamics
For electronic music producers, creating custom Bitwig Studio controller scripts unlocks extraordinary possibilities. While intimidating at first, even basic scripting knowledge allows you to create context-sensitive controls that adapt to whatever you’re currently editing.
The most powerful controller setup isn’t the most expensive—it’s the most thoughtfully configured.
For film composers working with orchestral libraries, consider velocity crossfading techniques. Configure your controller’s expression pedal to seamlessly blend between dynamic layers in Vienna Symphonic Library instruments, creating realistic crescendos impossible with keyboard velocity alone.
Remember that optimization is an ongoing process. Schedule monthly “controller maintenance” sessions to refine your mappings based on your evolving workflow. The time invested pays exponential dividends in creative momentum.
Learn how to set up your MIDI controller with any DAW for seamless music production. This guide covers connections, drivers, custom mappings, and troubleshooting tips to optimize your workflow and enhance creativity.
Learn how to set up your MIDI controller with any DAW for seamless music production. This guide covers connections, drivers, custom mappings, and troubleshooting tips to optimize your workflow and enhance creativity.