When seconds count, will your fire buckets be where you need them? This question isn’t just theoretical—it could be the difference between a minor incident and a devastating blaze.
Fire buckets represent one of the oldest and most reliable fire-fighting tools in history, dating back centuries before modern extinguishers. Yet their effectiveness hinges entirely on strategic placement. The National Fire Protection Association reports that properly positioned fire buckets can reduce initial fire spread by up to 60% when used within the first 90 seconds of ignition.
The critical importance of placement
Fire buckets serve as your first response mechanism during those crucial initial moments of a fire emergency. Their strategic positioning throughout your site follows three fundamental principles:
- Accessibility: Buckets must be readily available within 75 feet of potential fire hazards
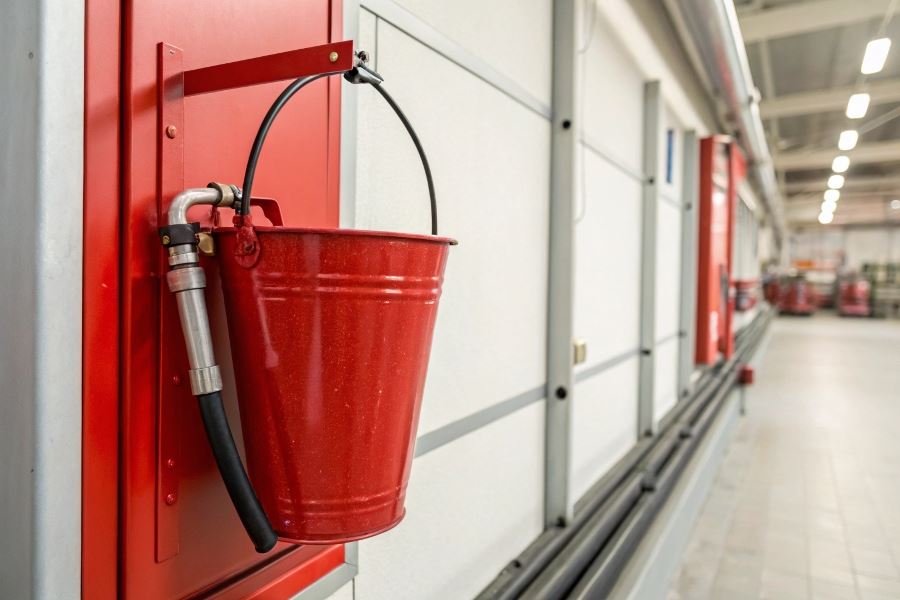
- Visibility: Clear signage and distinctive red coloring ensure quick location during emergencies
- Protection: Placement should shield buckets from potential damage or contamination
Navigating regulatory requirements
Compliance isn’t optional. OSHA standards mandate specific placement requirements based on your facility type and risk assessment. For Class A fires (ordinary combustibles), buckets must contain water or specialized Class A solutions, while Class B fires (flammable liquids) require sand-filled buckets.
“Proper fire bucket placement isn’t just about checking regulatory boxes—it’s about creating a comprehensive emergency response ecosystem.”
Bucket types and their placement considerations
Different environments demand different solutions:
| Bucket Type | Best Placement | Special Considerations |
|---|---|---|
| Water-filled | General areas | Not for electrical fires |
| Sand-filled | Near flammable liquids | Requires regular inspection for moisture |
| Multi-purpose | High-traffic zones | Higher cost but greater versatility |
Strategic Fire Bucket Placement That Saves Lives
Fire safety isn’t just about having equipment—it’s about having it exactly where you need it when every second counts. The strategic placement of fire buckets across your site can mean the difference between a minor incident and a catastrophic loss. Understanding how to properly place fire buckets on the site requires both science and strategy, with careful consideration of risk zones, spacing patterns, and accessibility factors.
High-risk areas demand priority protection
When mapping out your fire bucket deployment, start with a thorough risk assessment. High-risk zones should receive immediate attention and the highest concentration of fire buckets.
Manufacturing facilities with flammable materials present obvious dangers. Wood shops, paint storage areas, and chemical processing zones typically require one fire bucket every 50-75 square feet. By contrast, standard office spaces might need only one bucket per 200 square feet.
Electrical equipment rooms deserve special consideration. These areas should feature specialized dry powder or CO2 buckets rather than water-filled options, positioned within 10 feet of major electrical panels.
| Area Type | Risk Level | Recommended Bucket Density | Bucket Type |
|---|---|---|---|
| Chemical Storage | Extreme | 1 per 50 sq ft | Dry powder/Foam |
| Woodworking Shops | High | 1 per 75 sq ft | Water/Sand |
| Kitchen/Cooking | High | 1 per 100 sq ft | Class K/Foam |
| Office Space | Moderate | 1 per 200 sq ft | Multi-purpose |
Outdoor areas with combustible materials—like lumber yards or fuel storage—require weather-resistant buckets with secure lids to prevent contamination while maintaining visibility.
Master the science of spacing and distribution
The effectiveness of your fire bucket system hinges on thoughtful distribution patterns tailored to your site’s unique layout. The traditional “grid pattern” approach works well for open warehouses and manufacturing floors, creating overlapping coverage zones.
For corridor-heavy environments like hotels or office buildings, the “pathway protection” method proves more effective. This approach positions buckets at intersections and decision points, ensuring no person needs to travel more than 75 feet to reach fire-fighting equipment.
L-shaped or complex floor plans require special attention. These layouts benefit from a “zone defense” strategy, where each distinct area receives its own dedicated fire protection resources rather than attempting to maintain consistent spacing throughout.
The 30-second rule: No person should need more than 30 seconds to reach the nearest fire bucket from any point in your facility.
For multi-story buildings, prioritize stairwell landings and elevator lobbies for bucket placement. These natural gathering points during emergencies become critical resource hubs when fires break out.
Accessibility factors that make or break response time
Even perfectly positioned fire buckets fail if they’re inaccessible during an emergency. Mount buckets between 3-5 feet from the floor—the ideal height range for quick grabbing without straining. Ensure wall-mounted units have at least 3 feet of clearance in front to allow unobstructed access.
Visibility transforms good placement into great placement. High-contrast signage positioned above each bucket location dramatically improves response time. Consider installing Nightglow Safety Signs that remain visible even during power outages.
Physical barriers represent the silent killer of fire response plans. Regular accessibility audits should verify that seasonal decorations, temporary storage, or furniture rearrangements haven’t compromised your carefully planned bucket locations.
For outdoor sites, consider the impact of seasonal changes. Snow accumulation, vegetation growth, and construction activities can all render perfectly placed fire buckets useless if not monitored regularly. Establish quarterly inspection protocols to maintain clear access paths year-round.
Maintaining Fire Bucket Excellence
Inspection protocols that save lives
Regular inspections aren’t just bureaucratic checkboxes—they’re your first line of defense against fire emergencies. Every fire bucket should undergo weekly visual inspections and monthly thorough assessments. During visual checks, verify that buckets remain filled to the designated level (typically 90% capacity to prevent spillage during transport) and that the contents haven’t been contaminated.
Monthly inspections should be more comprehensive:
- Check bucket integrity for cracks, rust, or damage
- Ensure handles and mounting brackets remain secure
- Verify that sand or water remains free of debris
- Confirm that identification labels remain legible
- Test bucket mobility by removing it from its station
Document every inspection with date, inspector name, and findings. Digital tracking systems like Safety Culture can streamline this process, but even a simple logbook works effectively when consistently maintained.
Weather protection strategies
Outdoor fire buckets face relentless environmental challenges that indoor units never encounter. Without proper protection, your emergency equipment can become useless precisely when you need it most.
The elements are merciless to unprepared fire safety equipment.
For water-filled buckets, freezing temperatures present the greatest threat. When temperatures drop below 32°F (0°C), consider these protective measures:
| Protection Method | Best For | Maintenance Required |
|---|---|---|
| Insulated covers | Moderate climates | Monthly inspection |
| Antifreeze additives | Extreme cold | Quarterly replacement |
| Heated bucket stations | Critical areas | Annual electrical check |
| Sand substitution | All outdoor areas | Moisture monitoring |
Sand-filled buckets offer superior all-weather performance but require protection from moisture to prevent clumping. Position these buckets under small awnings or use weather-resistant lids that still allow quick access during emergencies.
In areas with high precipitation, drainage holes in bucket stations prevent water accumulation around bucket bases, which can accelerate corrosion and create slipping hazards during emergency response.
Documentation and training requirements
Fire bucket placement isn’t complete until it’s properly documented and staff are thoroughly trained. Your documentation should include:
- Site maps showing exact bucket locations
- Maintenance schedules and responsibility assignments
- Inspection logs with verification signatures
- Incident reports for any bucket deployments
Training must go beyond simply pointing out bucket locations. Effective programs include hands-on demonstrations of proper bucket handling techniques and simulated fire response scenarios. All new employees should receive this training during orientation, with refresher sessions conducted quarterly.
Remember: The most perfectly placed fire bucket becomes useless if people don’t know how to use it effectively.
Consider implementing a “Fire Safety Champion” program where designated employees receive advanced training and take ownership of specific zones. These champions can conduct peer training and serve as first responders during emergencies.
For sites requiring formal compliance, maintain digital and physical copies of all documentation using systems like Procore or Autodesk Construction Cloud. These platforms allow instant access during safety audits and help demonstrate your commitment to maintaining proper fire safety protocols.
Learn the strategic placement of fire buckets on construction sites to ensure safety compliance and emergency readiness. Discover optimal locations, spacing requirements, and maintenance protocols that meet industry regulations.
Learn the strategic placement of fire buckets on construction sites to ensure safety compliance and emergency readiness. Discover optimal locations, spacing requirements, and maintenance protocols that meet industry regulations.