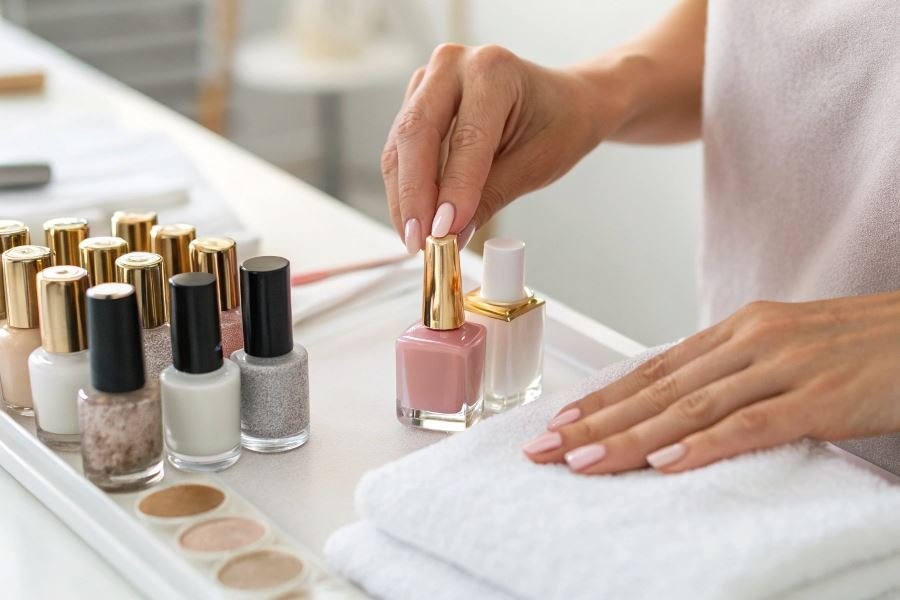
Ever picked up a bottle of nail extension gel and wondered why some flow like honey while others barely budge when turned upside down? That’s gel density at work—and it’s not just a manufacturing quirk, it’s the secret weapon of nail technicians who consistently deliver stunning results.
Gel density (or viscosity) fundamentally determines how the product behaves during application. Think of it as the personality of your gel: high-density formulas stand their ground, while lower-density options spread with minimal encouragement. This seemingly simple characteristic influences everything from application ease to the final strength and appearance of the extension.
Why density makes or breaks your nail game
The perfect density isn’t universal—it’s nail-specific. Clients with naturally flat nail beds often benefit from thicker gels that create dimension without running, while those with pronounced C-curves may need more fluid formulas that adapt to their natural contours without creating bulk.
“The right density doesn’t just make application easier—it’s the difference between extensions that last three weeks and those that fail after three days.”
Industry standards typically categorize gel densities on a scale from liquid-thin to sculptural-thick, with most manufacturers using numbered systems (1-5) or descriptive terms like “builder,” “medium-viscosity,” or “self-leveling.” These aren’t just marketing terms—they’re practical indicators of how the product will perform under your lamp.
Understanding this invisible property transforms your approach from guesswork to precision, ensuring each set of extensions is tailored perfectly to the unique architecture of your client’s natural nails.
Matching Gel Density to Your Natural Nail Type
The foundation of a flawless nail extension begins long before the first brush stroke of color. Professional nail technicians understand that selecting the appropriate gel density based on your natural nail structure is crucial for both aesthetics and nail health. When considering what density of gel to choose for nail extension, your natural nail type should be the primary factor guiding your decision, as different nail structures respond uniquely to varying viscosities of product.
Let’s explore how to pair the perfect gel density with your specific nail type for results that are both beautiful and durable.
Thin and Flexible Nails Need Extra Support
Clients with naturally thin or flexible nails often struggle with extensions that bend or break easily. These delicate nail beds require additional structural support that only medium to high-density gels can provide.
Medium-density gels offer the perfect balance for thin nails by:
- Creating a stronger protective layer without excessive weight
- Minimizing the risk of natural nail damage during application
- Providing enough flexibility to prevent complete breakage upon impact
For extremely thin nails, high-density formulations deliver superior benefits:
- Self-leveling properties that minimize filing and natural nail trauma
- Enhanced structural integrity that resists bending and breaking
- Reduced risk of lifting at the edges due to better adhesion
Pro tip: When working with thin nails, apply the gel in thin, methodical layers rather than one thick application to prevent heat spikes during curing.
Strong Natural Nails Thrive with Lighter Formulas
Clients blessed with naturally thick and strong nails don’t require the same level of reinforcement. For these nail types, lower-density gels offer distinct advantages:
Low-density gels work exceptionally well because they:
- Create a more natural-looking extension that complements already strong nails
- Allow for easier application with less manipulation of the product
- Reduce the bulky appearance that can occur when high-density products are applied to already thick nails
Medium-density options provide versatility for strong nails by:
- Offering enhanced control during application for precise shaping
- Creating a balanced weight distribution across the nail extension
- Providing just enough structure without overwhelming the natural nail
| Nail Type | Recommended Density | Key Benefits |
|---|---|---|
| Thin/Flexible | Medium to High | Structural support, damage prevention |
| Thick/Strong | Low to Medium | Natural appearance, easier application |
| Damaged | Specialized | Protective barrier, repair capabilities |
Rehabilitating Damaged Nails with Specialized Formulations
Nails that have suffered trauma, excessive filing, or chemical damage require thoughtful density selection focused on rehabilitation rather than just aesthetics.
For damaged nails, consider these specialized approaches:
Medium-density gels with added flexibility provide:
- A protective barrier that shields the natural nail during healing
- Enough strength to prevent further damage without rigid inflexibility
- Reduced stress on the nail plate during daily activities
Specialized repair formulations offer targeted benefits:
- Infusions of strengthening ingredients like calcium and keratin
- Balanced viscosity that minimizes application pressure on sensitive nails
- Optimal adhesion that reduces lifting while allowing the natural nail to breathe
When working with problematic nails, the application technique becomes as important as the product selection. Gentle preparation, minimal buffing, and thin application layers will support the healing process while still delivering beautiful results.
By matching gel density to your specific nail type, you’ll achieve extensions that not only look stunning but also support the health and integrity of your natural nails.
Mastering Gel Density for Professional Nail Extensions
Adapting gel density with the seasons
Seasonal changes demand strategic adjustments to your gel application techniques. During summer months, when temperatures rise, gels tend to flow more readily during application. Professional nail technicians typically opt for slightly higher viscosity formulations (medium-high to high density) to maintain control and prevent unwanted spreading.
Conversely, winter brings cooler ambient temperatures that naturally increase gel viscosity. This seasonal shift often requires adjusting to medium or medium-low density products that maintain workability despite the chill. Many top salons keep their gel products in temperature-controlled environments year-round to minimize these seasonal variations.
Pro tip: During humid summer conditions, allow an extra 15-30 seconds of curing time to ensure complete polymerization, as moisture can subtly interfere with curing efficiency.
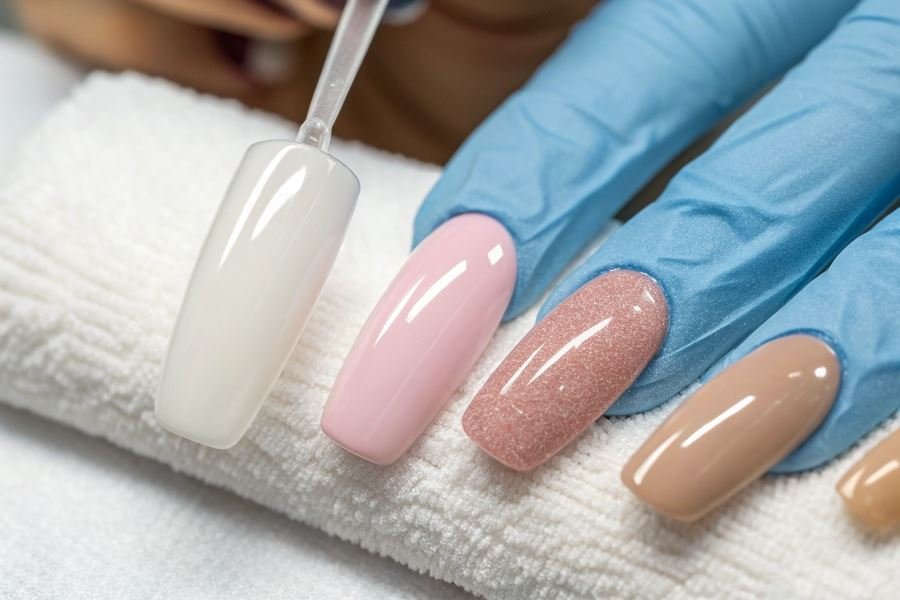
The art of density layering
The most sophisticated nail extensions rarely rely on a single gel density throughout. Master technicians strategically combine different viscosities to leverage the unique benefits each provides:
- Base layer: Low to medium density gels create superior adhesion to the natural nail
- Structure layer: High density gels provide architectural strength and shape
- Apex reinforcement: Ultra-high density gels prevent stress fractures at critical points
- Surface layer: Medium density gels enable smooth, even finishing
This layering technique, sometimes called “density mapping,” allows for customization based on client lifestyle, nail condition, and desired longevity.
The true mark of expertise isn’t using the most expensive gel—it’s knowing exactly which density to apply where for each unique nail structure.
Density troubleshooting guide
Incorrect gel density selection manifests in predictable ways. Recognizing these symptoms allows for immediate correction:
| Issue | Likely Cause | Professional Solution |
|---|---|---|
| Bubbling during cure | Gel too thick for application temperature | Switch to lower density or warm product slightly |
| Premature lifting at edges | Insufficient flow/adhesion from high-density gel | Apply thin low-density bonding layer first |
| Weak, flexible extensions | Low-density gel used throughout structure | Reinforce with medium-high density in stress zones |
| Uneven surface finish | High-density gel used for top layer | Final coat should be medium density for self-leveling |
| Excessive filing required | Gel too thick to self-level properly | Reduce application thickness or choose lower density |
When working with clients who have naturally thin or damaged nails, begin with the lowest density gel as your base layer to minimize heat spikes during curing. Gradually build structure with incrementally higher densities, never exceeding medium-high for these sensitive nail types.
Advanced application technique: For clients with active lifestyles or those prone to breakage, create a “density gradient” by applying higher viscosity product at stress points (typically the apex and free edge) while maintaining flexibility closer to the cuticle with lower density formulations.
By mastering these professional density techniques, you’ll dramatically improve both the appearance and longevity of your nail extension services.
Discover how to select the perfect gel density for nail extensions based on your unique nail type. Learn professional techniques for thin, thick, or damaged nails and avoid common application mistakes for flawless, long-lasting results.
Discover how to select the perfect gel density for nail extensions based on your unique nail type. Learn professional techniques for thin, thick, or damaged nails and avoid common application mistakes for flawless, long-lasting results.