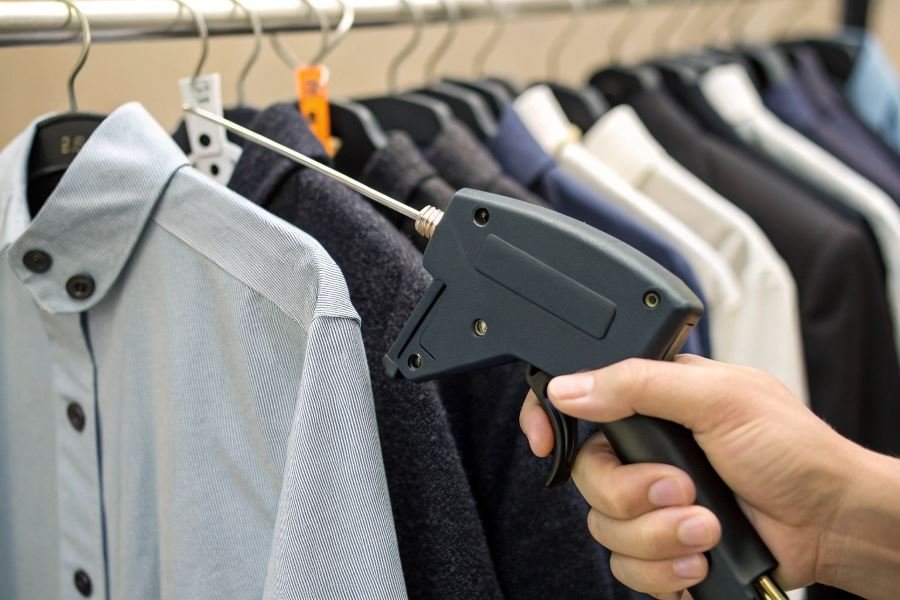
Ever watched a retail associate effortlessly attach price tags in seconds? That small handheld device they’re wielding—the tagging gun—is revolutionizing how businesses handle product labeling. While seemingly simple, this tool saves countless hours and dramatically improves inventory management efficiency.
Tagging guns (also called price guns or label guns) are handheld mechanical devices designed to quickly attach labels, tags, or price information to products using plastic fasteners. For retailers, manufacturers, and warehouse managers, these devices transform the laborious process of product identification into a swift, consistent operation.
The tagging gun landscape has evolved significantly, with several distinct varieties now available:
- Standard tagging guns: The workhorses of retail, perfect for clothing and soft goods
- Fine fabric tagging guns: Featuring thinner needles for delicate materials like silk or lace
- Industrial-strength models: Built for heavy-duty applications and durable goods
Every effective tagging system consists of three essential components:
- The gun itself: The mechanical device that drives the fastener
- Needles: Available in various gauges for different materials
- Fasteners: Those small plastic connectors (sometimes called “barbs” or “kimble tags”) that secure the label to the product
“The right tagging gun can reduce labeling time by up to 80% compared to manual methods, while improving accuracy and presentation.”
What separates professional operations from amateurs often comes down to having the proper tools—and knowing how to use them effectively. The humble tagging gun might seem insignificant, but it’s a critical link in the retail supply chain that directly impacts customer experience and operational efficiency.
Mastering the Tagging Gun: Your Step-by-Step Guide
The humble tagging gun—that handheld marvel that transforms inventory management from chaos to precision. While it might look simple, using this tool effectively requires technique, patience, and a bit of finesse. Let’s dive into the mechanics and mastery of this essential retail tool.
Setting Up and Using Your Tagging Gun
Loading and Preparation:
- Identify your gun model—most retail environments use either standard or fine needle variants from brands like Avery Dennison or Monarch
- Hold the gun with the needle pointing away from you
- Press the release lever (typically on the side or bottom) and pull the fastener clip slider back
- Insert your fastener clip with pointed ends facing the needle
- Gently slide the mechanism forward until it clicks
- Keep spare needles and fasteners nearby to maintain productivity
Material-Specific Techniques:
For Clothing and Textiles:
- Identify a seam or inconspicuous area to prevent fabric damage
- Hold fabric firmly without stretching
- Position the needle perpendicular to the material
- Apply gentle pressure and squeeze the trigger in one smooth motion
For Hard Goods and Packaging:
- Locate pre-punched holes or create a small hole with the needle
- Insert needle completely through the material
- Keep the gun flush against the surface
- Squeeze trigger firmly
Remember: For delicate fabrics like silk or cashmere, use fine-needle guns and position tags in seams only to prevent visible holes.
| Material Type | Recommended Needle | Ideal Placement | Pressure Level |
|---|---|---|---|
| Standard Fabrics | Regular | Seams, tags | Medium |
| Delicate Textiles | Fine | Seams only | Light |
| Cardboard/Packaging | Regular | Corner/edge | Firm |
| Plastic Products | Regular | Pre-punched holes | Medium |
Troubleshooting Common Issues
Clearing Jams:
- Remove any visible fasteners from the needle area
- Press the release lever and pull the slider back completely
- Gently remove any broken fasteners with tweezers
- Reload with fresh fasteners
Fixing Misfires:
- Check that fasteners are properly seated in the channel
- Ensure the needle isn’t bent or damaged
- Verify you’re applying consistent pressure when squeezing
Replacing Broken Needles:
- Unscrew the needle housing (usually counterclockwise)
- Remove the damaged needle carefully—wear gloves!
- Insert new needle with the notch aligned properly
- Tighten housing securely
Safety warning: Always point the needle away from yourself and others during operation and maintenance. A tagging gun may be simple, but its needle is sharp enough to cause injury.
With these techniques mastered, you’ll transform from tagging novice to efficiency expert, ensuring your products look professional while significantly reducing the time spent on this essential retail task.
Mastering the Art of Tagging Gun Efficiency
Extending your tagging gun lifespan
The humble tagging gun represents a significant investment in your product presentation strategy. Treating it as disposable is leaving money on the table. Regular maintenance dramatically extends operational life by up to 300% according to industry data.
Start with daily cleaning—a quick 30-second ritual that prevents debris accumulation. Remove the needle and use compressed air to blast away fabric fibers and dust particles that inevitably collect during operation. For tagging guns from premium manufacturers like Avery Dennison or Tach-It, this simple habit prevents the most common cause of jamming.
The needle deserves special attention. When needles develop burrs or slight bends, they don’t just perform poorly—they actively damage your merchandise. Implement a needle replacement schedule based on volume:
| Usage Level | Replacement Schedule | Signs of Wear |
|---|---|---|
| Light (< 500 tags/week) | Every 3 months | Visible burrs, resistance |
| Medium (500-2000 tags/week) | Monthly | Slight bending, inconsistent insertion |
| Heavy (2000+ tags/week) | Bi-weekly | Any resistance or jamming |
Lubrication makes a measurable difference. Apply a drop of silicone-based lubricant (never oil-based) to moving parts quarterly. This reduces friction that causes premature wear on internal components.
The difference between a three-month and three-year tagging gun lifespan often comes down to five minutes of maintenance per week.
Workflow optimization for volume tagging
When scaling your tagging operations, efficiency becomes currency. The most successful operations implement a station-based approach rather than individual tagging.
Create a linear workflow with dedicated stations:
- Prep station: Sort products by tag type and organize tags in sequential order
- Tagging station: Ergonomically designed with proper lighting and comfortable seating
- Quality control: Quick visual inspection of tag placement and attachment security
For operations handling more than 1,000 items daily, dual-hand tagging techniques increase throughput by approximately 40%. This method involves holding the product with your non-dominant hand while maintaining a consistent tagging rhythm with your dominant hand.
Batch processing similar items creates a rhythm that reduces cognitive load. When tagging clothing, for instance, process all medium-sized black shirts before moving to another size or color. This minimizes the mental switching cost that occurs when constantly changing item types.
Specialized techniques for delicate materials
Delicate fabrics require finesse that standard tagging approaches can damage. For silk, cashmere, and other luxury textiles, employ the “fold-and-tag” method—creating a small, hidden fold in an inconspicuous seam area before inserting the tag. This distributes tension across multiple threads rather than puncturing directly through the visible fabric.
For uniquely shaped products or those with challenging materials like leather goods from brands like Coach or Michael Kors, use the “backing technique.” Place a small piece of backing material (typically felt or thin foam) behind the tagging area to prevent the needle from penetrating too deeply or damaging the opposite side.
Ultra-sheer fabrics require special consideration. Use the finest needle available (typically 0.9mm diameter) and reduce tension settings on adjustable tagging guns. Always tag in seam allowances or areas that will be hidden when the garment is worn.
For items requiring multiple tags (price, size, inventory), develop a consistent placement pattern that minimizes handling time while maintaining product aesthetics. The goal is one touch, multiple tags—not multiple handling instances for the same product.
Discover the complete guide to properly using tagging guns for product labeling. Learn step-by-step techniques, troubleshooting tips, and advanced strategies to streamline your inventory management and retail operations with professional tagging methods.
Discover the complete guide to properly using tagging guns for product labeling. Learn step-by-step techniques, troubleshooting tips, and advanced strategies to streamline your inventory management and retail operations with professional tagging methods.