Ever wondered why some safes get cracked while others remain impenetrable for decades? The difference often isn’t the safe itself—it’s how it was installed. A $2,000 high-security safe mounted improperly can be less secure than a $500 model installed correctly.
The foundation of security begins with installation
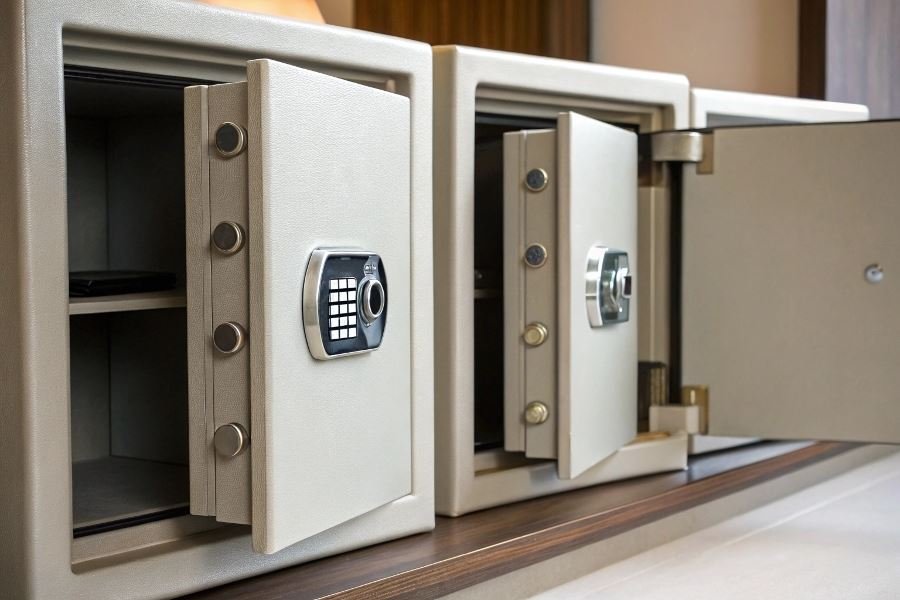
Proper safe installation isn’t just about deterring thieves—it’s about creating a seamless integration between security and accessibility. Your safe should be difficult for unauthorized individuals to access yet convenient for you. This delicate balance starts with thoughtful placement and expert installation techniques.
Essential tools for the job
Before diving into installation, gather these critical tools:
- Stud finder
- Level
- Drill with masonry bits (for concrete installations)
- Socket wrench set
- Pencil for marking
- Measuring tape
- Anchor bolts appropriate for your flooring
The quality of your anchoring hardware is just as important as the safe itself. Professional installers often use grade 8 bolts that can withstand over 150,000 PSI of tensile strength—making them nearly impossible to break even with power tools.
Safety first: Critical precautions
Before lifting that 300-pound safe, consider these safety measures:
- Always work with a partner when moving heavy safes
- Identify load-bearing structures in your home
- Check for electrical wiring and plumbing before drilling
- Wear appropriate protective gear including gloves and steel-toed boots
Remember: A properly installed safe isn’t just about keeping valuables in—it’s about keeping injuries and regrets out.
Mastering Safe Installation: Your Complete Guide
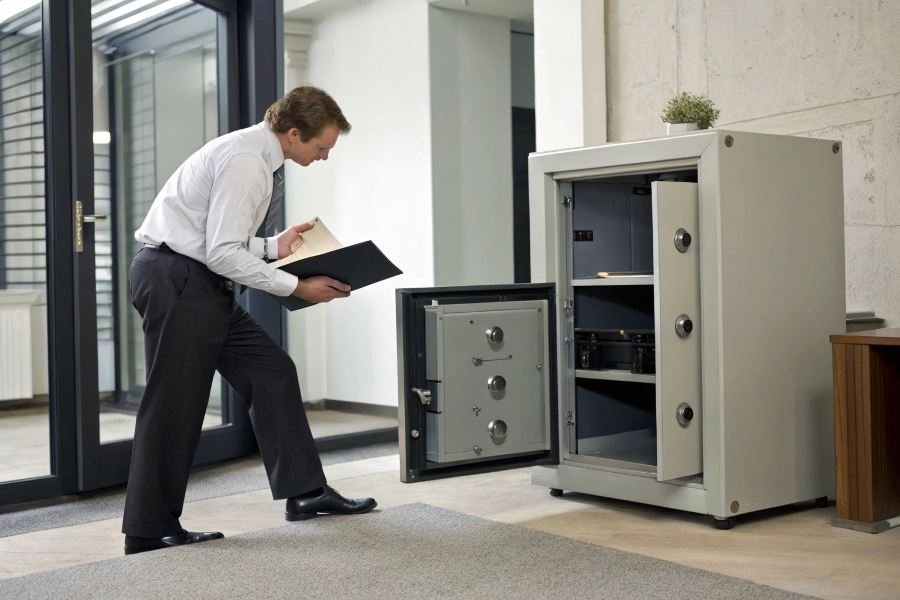
Finding the perfect spot for your safe is the first critical decision in the installation process. The ideal location balances accessibility with security—typically a bedroom closet, home office, or basement area that’s out of immediate sight but still convenient for you. Corner spaces often provide excellent structural support while remaining discreet. Avoid areas with high humidity or temperature fluctuations that could damage the safe’s contents or mechanism over time.
When considering how to properly install a safe in a room, many homeowners overlook the weight factor. A quality home safe can weigh anywhere from 100 to 1,000+ pounds. Your floor must be able to support this weight without compromising structural integrity. For second-floor installations, consult with a structural engineer to verify load capacity—particularly for safes exceeding 500 pounds.
Choosing the Perfect Location
The location selection process requires strategic thinking:
- Accessibility: Choose a spot that’s convenient for regular access but not obvious to visitors
- Structural support: Look for areas near load-bearing walls
- Hidden but functional: Consider spaces behind furniture, inside closets, or beneath stairs
- Protection from elements: Avoid areas prone to moisture or extreme temperatures
For wall safes, locate wall studs using a quality stud finder like the Franklin ProSensor 710 to ensure proper anchoring. Floor safes benefit from concrete foundations, while furniture-mounted options work best with solid hardwood pieces.
Preparing Your Installation Site
Site preparation varies dramatically based on your mounting choice:
Floor Mounting Preparation:
- Use a level to ensure the surface is perfectly flat
- For concrete floors, mark drilling locations for anchor bolts
- For wood floors, locate and mark floor joists for maximum stability
Wall Mounting Preparation:
- Locate and mark wall studs (typically 16″ apart)
- Cut drywall precisely using measurements from your safe’s template
- Clear the cavity of any electrical wires, plumbing, or insulation
Furniture Mounting Preparation:
- Select furniture with sufficient weight capacity and stability
- Reinforce mounting areas with steel plates if necessary
- Ensure furniture cannot be easily moved or tipped
Anchoring Techniques That Last
The anchoring phase is where many DIY installations fail. Professional-grade installation requires:
| Mounting Type | Recommended Anchors | Drill Bit Size | Torque Specification |
|---|---|---|---|
| Concrete Floor | 1/2″ expansion bolts | 1/2″ masonry bit | 40-45 ft-lbs |
| Wood Floor | 3/8″ lag bolts | 5/16″ pilot hole | 25-30 ft-lbs |
| Drywall/Studs | 5/16″ lag screws | 1/4″ pilot hole | 20-25 ft-lbs |
When drilling into concrete, use a hammer drill with a high-quality Bosch Carbide-tipped Bit for clean, precise holes. For maximum security, use all available anchor points—not just the minimum required.
Verifying Your Installation
After installation, testing is non-negotiable:
- Stability test: Apply firm pressure from multiple angles to verify the safe doesn’t shift
- Door clearance check: Ensure the door opens fully without obstruction
- Lock function verification: Test the locking mechanism multiple times under different conditions
- Weight test: Gradually load the safe to ensure anchors hold under full capacity
For electronic safes, verify backup key access works properly. Document your installation with photos for insurance purposes, but store this documentation separately from the safe itself.
Remember that proper installation is an investment in security. The 2-3 hours spent on careful installation will protect valuables for decades to come. For safes containing irreplaceable items or documents, consider having your DIY installation verified by a certified locksmith.
Maximizing Your Safe’s Performance After Installation
Testing Your Safe’s Security Features
Once your safe is securely mounted, verification becomes your next critical mission. Don’t simply assume everything works—test every feature methodically. Begin by operating the locking mechanism multiple times, whether it’s a Sentry Safe electronic keypad or a traditional AMSEC combination dial. Ensure the bolts extend and retract smoothly without catching or hesitation.
For electronic safes, test backup access methods immediately. If your Liberty Safe includes an emergency key override, verify it functions before you actually need it. Many owners discover non-functioning backup systems only during lockouts—when it’s already too late.
Record all codes in a secure location separate from the safe itself. Consider using a password manager like LastPass for digital storage of these credentials, ensuring you never lose access to your valuables.
Strategic Concealment Approaches
A properly installed safe becomes exponentially more effective when thoughtfully concealed. Consider these proven hiding strategies:
| Concealment Method | Best For | Considerations |
|---|---|---|
| Behind Artwork | Wall Safes | Requires hinged frame for quick access |
| False Cabinet Fronts | Floor Safes | Must match existing cabinetry precisely |
| Bookshelf Integration | Medium Safes | Requires reinforced shelving to support weight |
| Closet Installation | Large Safes | Limits visibility but may sacrifice convenience |
Beyond physical concealment, implement layered security. Install a Ring motion sensor near your safe to receive alerts when anyone approaches. Consider a SimpliSafe system with door sensors for the room containing your valuables.
The most effective security combines technological protection with psychological deterrence. Place decoy valuables in obvious locations to divert attention from your actual safe’s location.
Maintenance Protocols For Lasting Performance
Safe mechanisms require regular maintenance to function reliably for decades. Establish a quarterly inspection routine that includes:
- Hinge lubrication using dry graphite powder—never use oil-based lubricants as they attract dust and eventually gum up mechanisms
- Electronic component testing, including battery replacement in keypad systems before they fail
- Humidity control using Lockdown dehumidifier rods or silica gel packets to prevent internal corrosion
For fireproof safes, inspect the door seal annually for signs of degradation. The fire-resistant materials in models like FireKing safes can absorb moisture over time, potentially compromising their protective capabilities.
Document all maintenance activities with dates and observations. This record becomes invaluable for warranty claims and helps identify developing issues before they cause lockouts.
Remember that even premium safes require environmental consideration. Avoid placing your safe in areas with extreme temperature fluctuations or high humidity, as these conditions accelerate wear on both mechanical components and electronic circuits.
By following these post-installation protocols, your safe will provide decades of reliable protection for your most valuable possessions—functioning flawlessly precisely when you need it most.
Learn the expert process of properly installing a home safe with our comprehensive guide. Discover optimal placement, secure anchoring techniques, and essential tools needed to maximize security and protect your valuables effectively.
Learn the expert process of properly installing a home safe with our comprehensive guide. Discover optimal placement, secure anchoring techniques, and essential tools needed to maximize security and protect your valuables effectively.