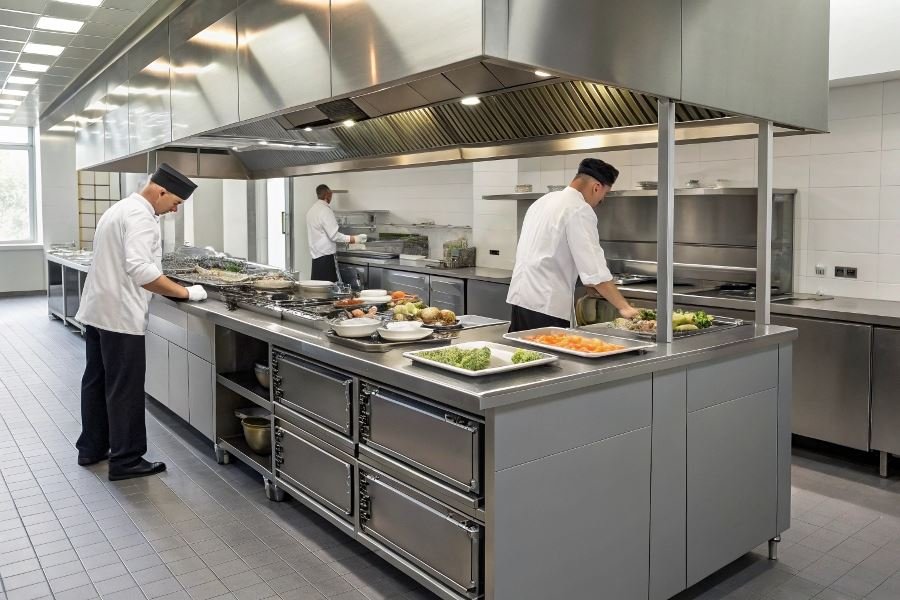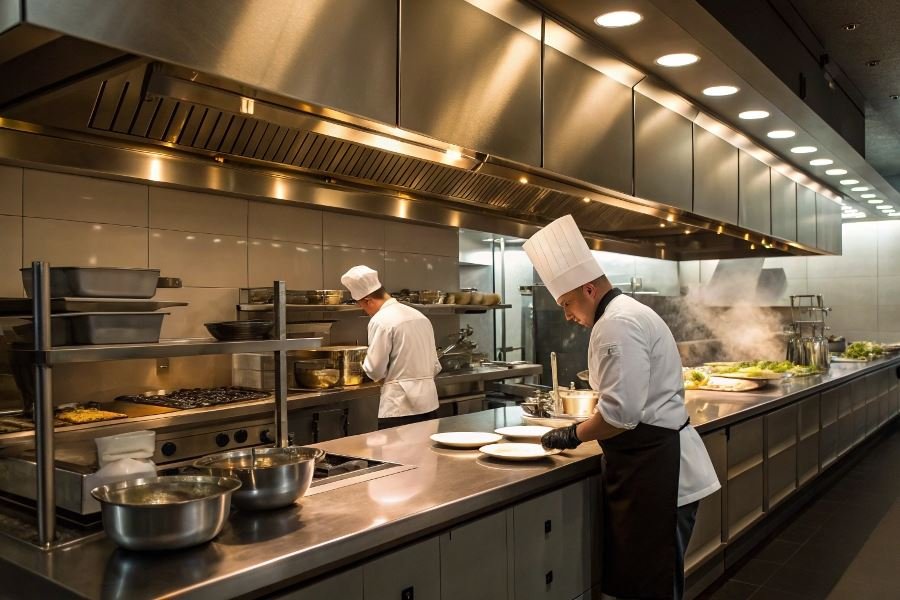
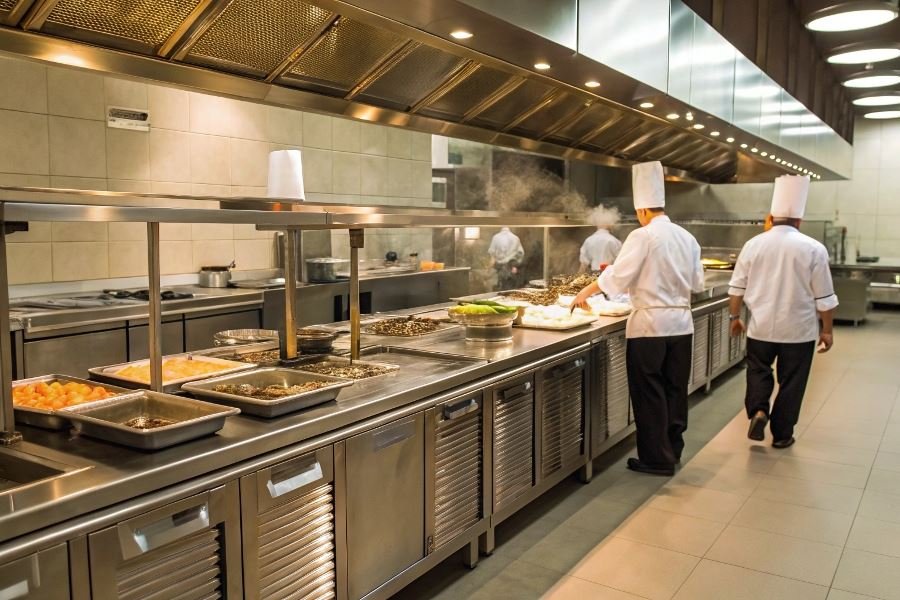
Ever walked into a restaurant kitchen during peak service? It’s a symphony of controlled chaos where every second counts. Behind that perfectly timed meal delivery lies something few diners ever consider: a meticulously planned heating line arrangement that can make or break a food service operation.
The heating line—that critical sequence of hot food preparation equipment—forms the beating heart of commercial kitchens. When properly designed, it transforms kitchen workflow from frustrating bottlenecks into seamless production. When poorly planned? Prepare for delayed orders, inconsistent food quality, and frustrated staff.
Before sketching a single equipment placement, successful kitchen planners consider three foundational elements. First, they analyze the menu thoroughly—a steakhouse requires different heating modules than a pasta-focused Italian restaurant. Second, they map the expected volume and peak service patterns. Third, they consider the physical constraints of the space, including utilities access and ventilation requirements.
“The difference between a good heating line and a great one isn’t just efficiency—it’s creating an environment where chefs can perform at their best.” – James Beard Award-winning chef Thomas Keller
Workflow optimization isn’t merely about speed—it’s about creating logical progression. Hot appetizers should flow naturally to plating areas, while entrees might require different finishing stations. Meanwhile, health department regulations demand specific clearances between cooking equipment and food preparation surfaces.
The most successful heating lines balance three competing priorities: operational efficiency, food safety compliance, and staff ergonomics. When these elements align, kitchen magic happens.
The Blueprint for Heating Line Excellence
The orchestration of a commercial kitchen’s heating line is nothing short of culinary choreography. When properly planned, it transforms chaotic movement into a symphony of efficiency. The strategic arrangement of cooking modules can reduce prep time by up to 30% while enhancing food quality and staff satisfaction. Let’s dive into the core principles that make this possible.
Reading the Kitchen’s Natural Rhythm
Every successful kitchen has a pulse—a natural flow of movement that dictates how efficiently your team can operate. Analyzing these traffic patterns isn’t just helpful; it’s essential when planning how to properly plan the arrangement of modules in the heating line of public catering. Start by mapping current movement with heat-mapping technology or simple observation sheets tracking staff steps during peak hours.
The most efficient kitchens minimize crossover points where staff intersect paths. A study by the Food Service Equipment Journal found that reducing these collision zones by even 15% can increase output by nearly 22% during rush periods.
Action step: Document traffic for three consecutive busy shifts, noting bottlenecks and unnecessary movement. Your ideal layout should create a linear workflow where products move consistently in one direction—from storage to prep to cooking to plating.
Positioning Power Centers Based on Menu Demands
Your menu isn’t just what you serve—it’s the blueprint for your module arrangement.
High-volume items deserve prime real estate in your heating line. If 40% of orders include fried items, your fryers should occupy a central, easily accessible position with adequate workspace on both sides.
Consider these strategic positioning principles:
| Module Type | Ideal Positioning | Key Considerations |
|---|---|---|
| Ranges & Grills | Central, accessible from multiple sides | Heat output, ventilation requirements |
| Fryers | Adjacent to prep areas, away from water sources | Oil management, safety clearances |
| Steamers & Ovens | End positions with utility access | Steam ventilation, water connections |
| Plating Stations | Terminal position in workflow | Heat lamps, garnish access, expediting space |
The arrangement should mirror your menu’s complexity. A steakhouse might center around a massive grill station, while an Italian restaurant prioritizes pasta cooking stations and salamanders for finishing dishes.
The Invisible Infrastructure
Behind every great heating line lies an invisible support system that makes everything possible. Ventilation, utility access, and safety considerations aren’t afterthoughts—they’re foundational elements that determine where equipment can physically exist.
Ventilation requirements often dictate placement more than workflow preferences. High-BTU equipment like woks and charbroilers need powerful hood systems with proper air replacement. The American Society of Heating, Refrigerating and Air-Conditioning Engineers guidelines recommend specific CFM (cubic feet per minute) extraction rates based on equipment type.
Utility access points create natural anchors for certain equipment:
- Water connections for steamers and combi ovens
- Gas lines for ranges and broilers
- High-voltage electrical for induction units
Safety clearances between hot and cold zones, fire suppression coverage, and emergency egress paths further refine your layout options. Remember that code requirements aren’t suggestions—they’re non-negotiable parameters that protect your staff and business.
The most successful heating line arrangements balance these technical requirements with operational flow, creating spaces that are both compliant and conducive to culinary excellence.
Bringing Your Heating Line to Life: Implementation and Optimization
The Installation Roadmap
Setting up a commercial kitchen heating line isn’t just about placing equipment—it’s about orchestrating a symphony of culinary efficiency. The implementation process demands precision, testing, and a methodical approach that respects both workflow and safety standards.
Start with a complete power assessment before any equipment touches your floor. Commercial heating modules typically require dedicated circuits ranging from 20-60 amps depending on specifications. A professional electrician should verify your electrical infrastructure can handle peak loads—particularly during rush periods when all stations operate simultaneously.
The physical installation follows this sequence:
- Position heavy anchor equipment (ranges, griddles) according to your blueprint
- Install ventilation hoods with precise overlap (minimum 6″ beyond equipment edges)
- Connect gas lines with appropriate regulators and safety valves
- Install fire suppression systems directly above high-heat zones
- Test each module individually before full-line integration
Critical testing metrics include heat-up times, temperature consistency across cooking surfaces, and recovery rates after loading cold product. Document these benchmarks—they’ll serve as your baseline for future performance evaluation.
Maintenance: The Lifeblood of Efficiency
The difference between a heating line that lasts 5 years versus 15 years often comes down to maintenance discipline. Establish a three-tier maintenance schedule:
| Maintenance Level | Frequency | Key Actions |
|---|---|---|
| Daily | After each service | Surface cleaning, grease trap inspection, temperature verification |
| Weekly | During slow period | Deep cleaning, burner inspection, calibration check |
| Quarterly | Scheduled downtime | Professional servicing, parts replacement, efficiency testing |
Preventative maintenance isn’t an expense—it’s an investment that pays dividends in equipment longevity and performance reliability.
Temperature calibration deserves special attention. Even high-end equipment drifts over time, and a variance of just 15°F can mean the difference between perfectly executed dishes and inconsistent results. Invest in commercial-grade temperature probes from ThermoWorks or similar professional suppliers.
Continuous Improvement Through Data-Driven Adjustments
The initial arrangement of your heating line is rarely its final form. Smart operators treat their kitchen layout as a living system that evolves based on performance data.
Track these metrics religiously:
- Ticket-to-plate times broken down by station
- Energy consumption per module during various service periods
- Staff movement patterns using heat mapping or simple observation
- Bottleneck frequency during peak service times
When evaluating performance, look for micro-inefficiencies that compound over time. A chef who must take three steps to reach a garnish station might waste only 5 seconds per dish—but multiply that by 200 dishes per service, and you’ve lost nearly 17 minutes of productive time.
Consider implementing modular equipment platforms from manufacturers like Vulcan that allow reconfiguration without major infrastructure changes. These systems provide flexibility to adjust as menu offerings evolve.
The most successful heating line arrangements achieve a balance between theoretical efficiency and practical usability. Equipment positioned according to perfect workflow diagrams means nothing if your staff develops workarounds because the arrangement feels unnatural in practice.
Remember: the ultimate measure of success isn’t how impressive your heating line looks—it’s how seamlessly it enables your culinary team to deliver consistent quality at the pace your business demands.
Discover expert strategies for optimizing commercial kitchen heating line layouts. Learn how to arrange cooking modules efficiently, improve workflow, and meet safety standards for maximum productivity in your foodservice operation.
Discover expert strategies for optimizing commercial kitchen heating line layouts. Learn how to arrange cooking modules efficiently, improve workflow, and meet safety standards for maximum productivity in your foodservice operation.