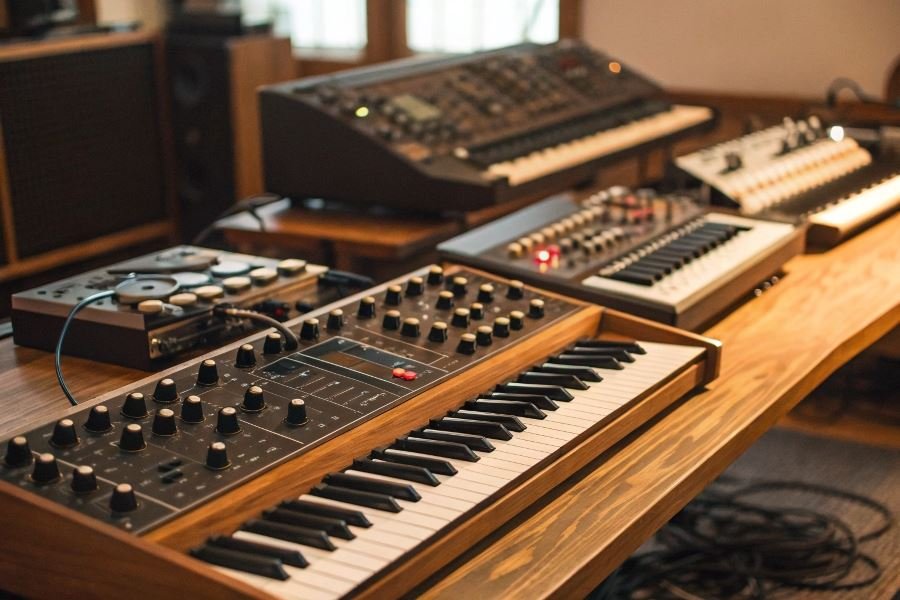

The moment when all your gear finally speaks the same language is pure magic. That satisfying click of cables connecting, followed by that first perfectly synchronized sequence—it’s what makes the technical side of music production worth mastering.
Synthesizer modules have transformed from exotic tools of experimental composers to essential components in studios of all sizes. These powerful sound-generating and processing devices serve as the building blocks of modern sound design, allowing producers to craft everything from subtle ambient textures to face-melting bass drops with unprecedented precision.
The neural network of your studio
Think of synthesizer modules as specialized neurons in your studio’s brain. Each module performs specific functions—oscillators generate raw waveforms, filters sculpt the tone, envelopes control how sounds evolve over time. When properly connected, they form a sophisticated network capable of producing sounds impossible to achieve with traditional instruments.
Speaking the language: Connection types decoded
Your modules communicate through several “dialects”:
- CV/Gate connections: The vintage language of synthesis, where Control Voltage (CV) determines pitch, filter cutoff, and other parameters, while Gate signals trigger notes
- MIDI: The digital protocol that’s been the backbone of electronic music since 1983
- USB: The modern convenience connector, often handling both MIDI data and power
- Audio connections: Typically using 3.5mm (patch cables) or 1/4″ jacks depending on your system
Essential gear for seamless integration
Beyond the modules themselves, you’ll need:
- A power distribution system that provides clean, stable electricity
- MIDI interface or USB hub for digital communication
- Audio interface with sufficient inputs/outputs
- Patch cables (lots of them!)
- Mixer or summing module to combine multiple signals
The beauty of modular synthesis lies in its flexibility—there’s no single “correct” way to connect everything. Your unique signal flow becomes part of your signature sound.
Mastering Audio Connections for Synthesizer Modules
The heart of any electronic music setup lies in how effectively your synthesizer module connects to the rest of your studio equipment. Creating pristine signal paths ensures your carefully crafted sounds reach their destination without degradation. Let’s dive into the technical artistry behind these connections.
When planning how to connect a synthesizer module to the rest of the studio equipment, you’ll need to understand the fundamental differences between connection types and how they affect your signal quality. This knowledge transforms a tangle of cables into a purposeful network that preserves your sonic vision.
Balanced vs. Unbalanced: The Signal Quality Showdown
Synthesizer modules typically offer two types of audio outputs: balanced and unbalanced. The difference is far from academic:
Balanced connections use three conductors (positive, negative, and ground) to carry the same signal with opposite polarity on two wires. This clever design allows receiving equipment to cancel out noise picked up during transmission—crucial when running cables over 10 feet.
Unbalanced connections use just two conductors (signal and ground), making them more susceptible to interference but perfectly adequate for shorter runs.
| Connection Type | Connector Types | Noise Rejection | Ideal Cable Length |
|---|---|---|---|
| Balanced | XLR, TRS (¼”) | Excellent | Up to 100+ feet |
| Unbalanced | TS (¼”), RCA | Limited | Under 10 feet |
When your Moog Mother-32 or Make Noise 0-Coast offers both options, always choose balanced connections for critical signal paths, especially in environments with potential electrical interference.
Connecting to Your Studio Ecosystem
Mixers: The Central Nervous System
Connecting synthesizer modules to mixers requires attention to input types. Professional mixers typically offer:
- Line-level inputs (perfect for most synth modules)
- Mic preamps (requiring attenuation for hot synth signals)
- Insert points (ideal for processing synth signals through external effects)
When connecting to a Mackie 1604VLZ4, use the line inputs and adjust the trim to prevent overloading the channel. For modular systems with multiple outputs, consider dedicating several channels to different voices or elements.
Audio Interfaces: The Digital Gateway
Modern production relies on getting your analog synth sounds into your Focusrite Scarlett or Universal Audio Apollo interface. Key considerations include:
- Input impedance matching (typically 10kΩ or higher for line inputs)
- Headroom requirements (synths can output hot signals)
- Sample rate and bit depth settings (44.1kHz/16-bit minimum)
Pro tip: Many interfaces include dedicated instrument inputs with higher impedance—these are designed for guitars but can work beautifully with synths that have weaker output signals.
Signal Flow and Level Matching Techniques
The science of proper gain staging prevents the twin evils of noise and distortion. Follow these principles:
- Start at the source: Set your synthesizer module’s output to a moderate level
- Match impedances: Ensure your destination device expects the impedance your synth provides
- Gain stage progressively: Add gain at each stage only as needed
- Monitor levels visually: Keep signals in the -18dB to -12dB range for digital systems
Remember that modular synthesizers often operate at higher voltages than consumer equipment expects. Some modules output +10dBu or higher, while consumer gear typically expects -10dBV. This 14dB difference can lead to distortion if not properly managed.
For modules without output level controls, inline attenuators or DI boxes like the Radial Engineering ProDI can tame hot signals before they reach sensitive equipment.
By mastering these connection principles, your synthesizer modules will integrate seamlessly with your studio ecosystem, ensuring the sonic integrity of your creative vision from conception to final output.
Mastering MIDI: Integrating Synthesizer Modules into Your Studio Ecosystem
The MIDI Connection Foundation
MIDI (Musical Instrument Digital Interface) remains the backbone of modern studio integration despite being developed back in 1983. This remarkable protocol allows your synthesizer modules to communicate with virtually everything else in your studio. Setting up proper MIDI connections isn’t just technical busywork—it’s the difference between a disjointed collection of gear and a responsive, unified instrument.
For basic note data transmission, connect your controller’s MIDI OUT to your synthesizer module’s MIDI IN using standard 5-pin DIN cables. For bidirectional communication, complete the loop by connecting the module’s MIDI OUT to your controller’s MIDI IN. This allows parameter changes on the module to be recorded into your DAW, creating automation possibilities that would be impossible to perform manually.
Many modern synthesizer modules now feature USB MIDI connectivity alongside traditional DIN connections. The Arturia MicroFreak exemplifies this dual-approach, offering both connection types to bridge vintage and contemporary setups.
Synchronizing Your Studio Ecosystem
Timing is everything in music production. When integrating synthesizer modules, proper synchronization ensures all your devices play in perfect time.
Clock signals are the heartbeat of your studio. Most contemporary setups use one of these synchronization methods:
| Sync Method | Pros | Cons |
|---|---|---|
| MIDI Clock | Universal compatibility, precise | Potential timing jitter over long chains |
| Analog Clock (CV/Gate) | Ultra-precise timing, no latency | Limited to compatible hardware, needs separate cables |
| Ableton Link | Wireless, easy setup, DAW integration | Requires compatible devices, network dependency |
When using a DAW as your central hub, configure it as the master clock source. In Ableton Live, navigate to Preferences → Link/MIDI and enable “Sync” for your MIDI output ports. For hardware-centered setups, devices like the Elektron Digitakt can serve as excellent master clock sources.
Troubleshooting Connection Challenges
Even experienced producers encounter MIDI gremlins. Here’s how to exorcise the most common ones:
No communication between devices? First, verify the MIDI channel settings match on both sending and receiving devices. Many modules default to Channel 1, but this can be changed in their settings. Also check that MIDI Thru functionality is enabled if you’re daisy-chaining multiple devices.
Notes triggering incorrectly? This often indicates a MIDI velocity sensitivity mismatch. Adjust velocity curves on your controller or receiving module to achieve the desired response.
Timing drift between hardware and DAW? Buffer settings in your audio interface are the likely culprit. Lower buffer sizes reduce latency but increase CPU load. Find your sweet spot—typically 128 or 256 samples provides a good balance.
For persistent timing issues, consider a dedicated MIDI interface like the MOTU MIDI Express 128 with its rock-solid timing accuracy.
Optimizing Your Integration
Take your setup to the next level with these advanced integration techniques:
- Create MIDI templates for your most-used configurations to quickly recall complex routing setups
- Utilize MIDI CC messages to control multiple parameters simultaneously
- Implement MIDI filters to prevent unwanted data from reaching sensitive modules
- Consider MIDI merge boxes like the Kenton MIDI Merge when multiple controllers need to address the same module
Remember that proper cable management isn’t just about aesthetics—it prevents signal degradation and makes troubleshooting infinitely easier. Label your cables at both ends and use different colors for different signal types.
By thoughtfully integrating your synthesizer modules with robust MIDI connections and proper synchronization, you transform individual pieces of gear into a cohesive, creative instrument that’s greater than the sum of its parts.
Learn how to properly connect synthesizer modules to mixers, audio interfaces, and MIDI systems in your studio setup. This comprehensive guide covers essential connections, signal flow optimization, and troubleshooting tips for seamless integration.
Learn how to properly connect synthesizer modules to mixers, audio interfaces, and MIDI systems in your studio setup. This comprehensive guide covers essential connections, signal flow optimization, and troubleshooting tips for seamless integration.