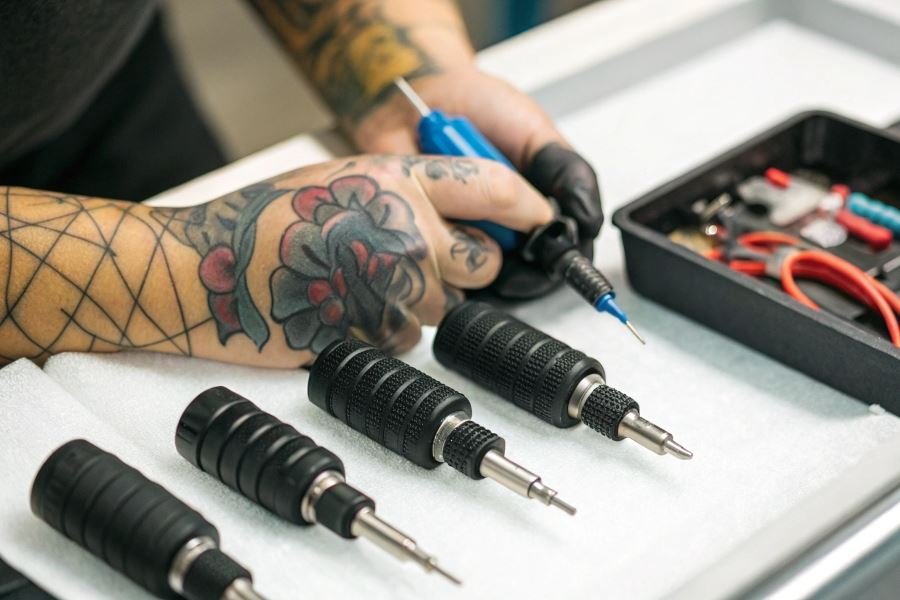
Ever watched a master tattoo artist create crisp, clean lines that seem to flow effortlessly across skin? That precision isn’t magic—it’s meticulous needle selection. For beginners stepping into the world of tattoo artistry, understanding needle tips isn’t just helpful—it’s essential for creating work that doesn’t scream “rookie.”
The needle tip you choose literally shapes your artistic voice on skin. Think of tattoo needles as the brushes in a painter’s arsenal—each configuration creates distinctly different effects. The right needle transforms shaky lines into confident strokes, patchy shading into smooth gradients, and dull color into vibrant art that stands the test of time.
Needle configurations speak their own language. When you see markings like “3RL” or “5RS,” you’re looking at a code that reveals both function and structure. The number indicates how many needles are grouped together, while the letters tell you their purpose and arrangement. For instance, “RL” stands for “Round Liner”—perfect for crisp outlines—while “RS” means “Round Shader” for smooth, filled areas.
“The difference between amateur and professional tattoo work often comes down to needle selection. Master this fundamental skill, and you’re halfway to creating exceptional tattoos.”
Understanding these configurations isn’t just technical knowledge—it’s your roadmap to artistic freedom. When you know exactly which needle will achieve your desired effect, you can focus on creativity rather than struggling with technique.
Mastering the Basics: Needle Configurations Every Tattoo Beginner Needs
When you’re starting your journey into the world of tattoo artistry, understanding your tools is as crucial as developing your artistic style. The needle is where art meets skin, and selecting the right configuration can make the difference between amateur work and professional-looking results.
For those just beginning to explore tattoo needle tips for beginner artists, the landscape can seem overwhelming. With dozens of configurations available, knowing which needles to start with can save you frustration, money, and help you develop proper technique from day one. Let’s break down the three essential needle configurations that should be in every beginner’s toolkit.
Round Liner Needles: Your First Best Friend
Round Liner (RL) needles are the foundation of tattooing for good reason. These needles feature pins arranged in a circular pattern, creating a precise point that delivers consistent ink flow.
Why beginners love them:
- Exceptional control for crisp, clean lines
- Easier to maneuver than more complex configurations
- Perfect for outlines, script, and detailed work
Most professionals recommend starting with 3RL or 5RL needles, which contain 3 or 5 pins respectively. The smaller groupings allow you to develop steady hand control without overwhelming the skin.
“The 3RL needle taught me discipline in movement that carries through to every tattoo I create today,” notes veteran tattoo artist Mark Stephens.
Round Shader Needles: Building Dimension
Once you’ve developed comfort with liners, Round Shader (RS) needles become your gateway to adding depth and dimension to your work.
Round Shaders feature pins arranged similarly to liners but with slightly looser grouping, allowing for:
- Smooth transitions between light and dark areas
- Controlled saturation for gradient effects
- Versatility for both line work and basic shading
| Needle Size | Best Applications | Learning Curve |
|---|---|---|
| 5RS | Small detail shading, fine gradients | Gentle |
| 7RS | Medium shading, versatile work | Moderate |
| 9RS | Larger areas, deeper saturation | Steeper |
Beginners should start with 5RS or 7RS configurations, which provide enough coverage to practice shading techniques without overwhelming your developing skills.
Magnum Needles: Expanding Your Capabilities
As your confidence grows, Magnum needles will revolutionize your approach to larger areas and color work. These broader configurations feature pins arranged in a flatter pattern, often in staggered rows.
When to introduce Magnums to your practice:
- After you’ve mastered basic lining and shading
- When working on pieces requiring color saturation
- For creating smooth, even backgrounds
Magnum needles come in several variations:
- Standard Magnums (M1): Ideal for general shading and color packing
- Curved Magnums (CM): Contoured for working with the natural curves of the body
- Stacked Magnums (M2): Densely packed for maximum color saturation
For beginners ready to experiment with Magnums, start with smaller configurations like 7M1 or 9M1, which provide enough coverage to practice the technique without being unwieldy.
Remember that proper technique with Magnums often involves a different hand movement—more of a sweeping motion rather than the precise movements used with liners and round shaders.
By mastering these three fundamental needle configurations, you’ll build a solid technical foundation that will serve your artistic development for years to come.
Needle Mastery: Your Path to Tattoo Excellence
The journey from tattoo novice to skilled artist hinges on your understanding of the tools in your hand. As we’ve explored the Round Liners, Magnum Shaders, and Round Shaders that form the foundation of a beginner’s arsenal, let’s bring these insights together and chart your path forward.
The Essential Trio Recap
Your initial toolkit centers on three critical needle configurations that balance versatility with specialization:
-
Round Liners (RL) – Your precision instruments for crisp outlines and fine details, with 3RL to 7RL configurations offering control for different line weights
-
Magnum Shaders (M1) – The workhorses for broad color saturation and smooth gradients, with their distinctive staggered formation enabling efficient ink distribution
-
Round Shaders (RS) – Your transition tools that bridge detailed work and broader shading, perfect for creating dimension in smaller areas
These three configurations handle approximately 90% of the techniques you’ll need in your first year of tattooing. Mastering them before expanding your collection will develop muscle memory and technical understanding that transfers to more specialized needles later.
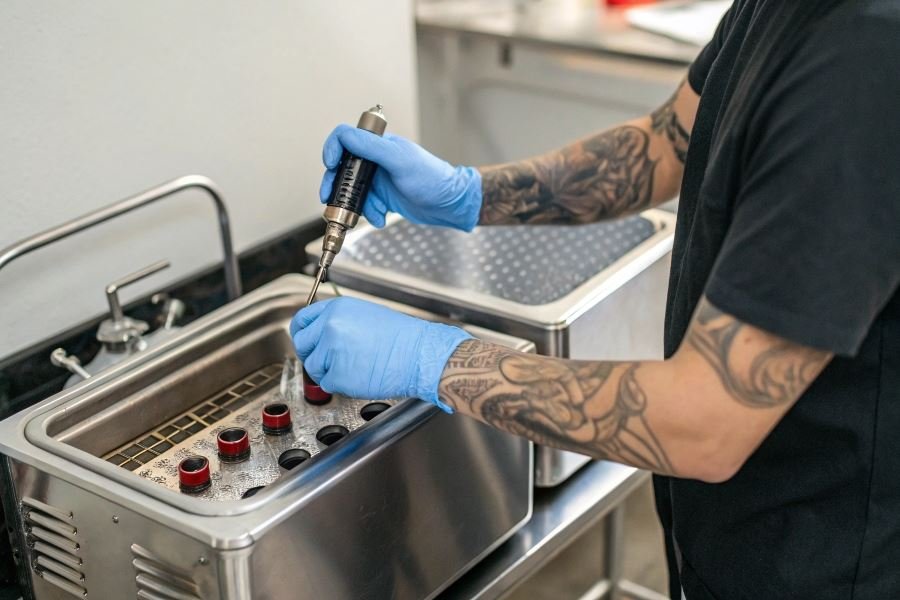
Preserving Your Precision Instruments
Needle quality directly impacts client experience and artistic results. Implement these maintenance practices religiously:
-
Single-use discipline – Despite the temptation to reuse needles for practice, even on synthetic skin, this creates bad habits. Quality needles from manufacturers like Cheyenne or Bishop are designed for single sessions only.
-
Storage protocol – Keep unused needles in their original sterile packaging until the moment of use. Store in a climate-controlled environment away from humidity.
-
Inspection routine – Before every use, examine needles under magnification for manufacturing defects, bent tips, or irregularities in grouping.
-
Proper disposal – Always use certified sharps containers and follow local biohazard regulations for disposal.
The difference between amateur and professional results often lies not in artistic ability, but in respecting the integrity of your tools.
Growing Your Needle Knowledge
As your confidence grows with the foundational three, expand your expertise through this progression path:
| Experience Level | Needle Expansion | Application Focus |
|---|---|---|
| 3-6 months | Bugpin variants (tighter grouping) | Finer details, delicate linework |
| 6-12 months | Curved Magnums (CM) | Soft shading, color blending |
| 12+ months | Specialty configurations (Textured Mags, Stacked Mags) | Custom effects, signature techniques |
Start by mastering standard needle variants before exploring textured needles that create distinctive effects. Document your experiences with different configurations in a digital portfolio, noting which needles perform best for specific techniques on different skin types.
Connect with the broader community through platforms like TattooNOW to share experiences with specific needle configurations and learn from veterans who’ve refined their preferences over decades.
Remember that needle technology continues to evolve. What worked for artists a decade ago has been refined through materials science and manufacturing precision. Stay curious, test methodically, and let your growing expertise guide your expanding toolkit.
Your journey with tattoo needles is both technical and artistic—embrace both aspects, and your work will reflect the care you’ve invested in understanding these essential tools.
Discover the essential tattoo needle configurations every beginner artist needs to master. Learn how Round Liners, Round Shaders, and Magnums affect your line work, shading, and coloring techniques for professional-quality results.
Discover the essential tattoo needle configurations every beginner artist needs to master. Learn how Round Liners, Round Shaders, and Magnums affect your line work, shading, and coloring techniques for professional-quality results.