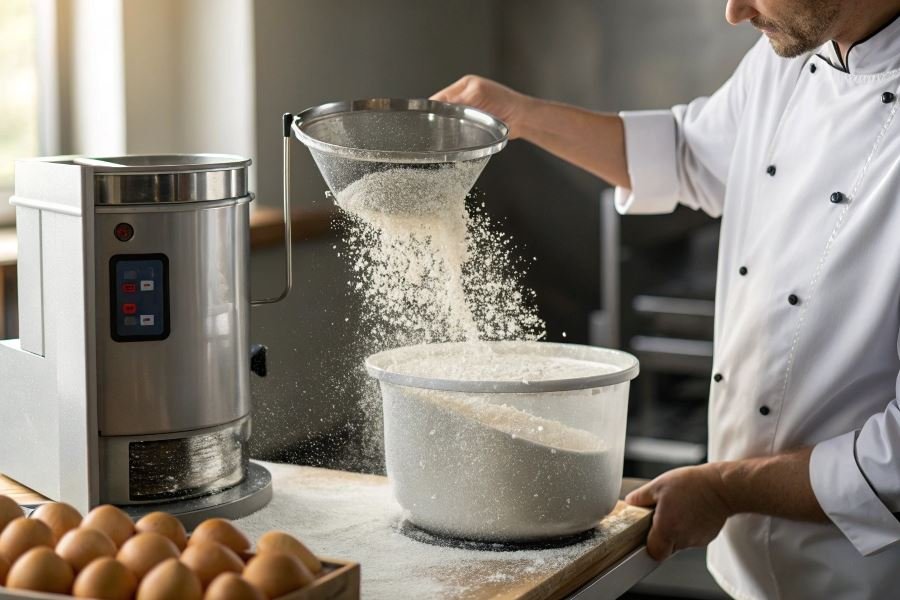
Ever watched a master baker create cloud-like cakes that seem to defy gravity? The secret might be sitting unassumingly in their kitchen drawer. The flour sifter—that simple, mechanical device—could be the difference between dense, disappointing bakes and airy, professional-quality creations.
A flour sifter is essentially a mechanical strainer designed specifically for flour. It aerates the flour while simultaneously removing any unwanted lumps or impurities. Think of it as giving your flour a breath of fresh air before it meets the rest of your ingredients. For beginners learning how to properly operate a flour sifter, understanding this fundamental purpose transforms it from a mysterious gadget into an essential tool.
Types of flour sifters: Finding your perfect match
The market offers several distinct styles:
- Crank-style sifters: The classic choice featuring a handle you turn to push flour through a mesh screen
- Squeeze-handle sifters: Requiring a squeezing motion to sift flour, often preferred by bakers with wrist issues
- Shaker sifters: Simple mesh screens that work by shaking, perfect for small batches
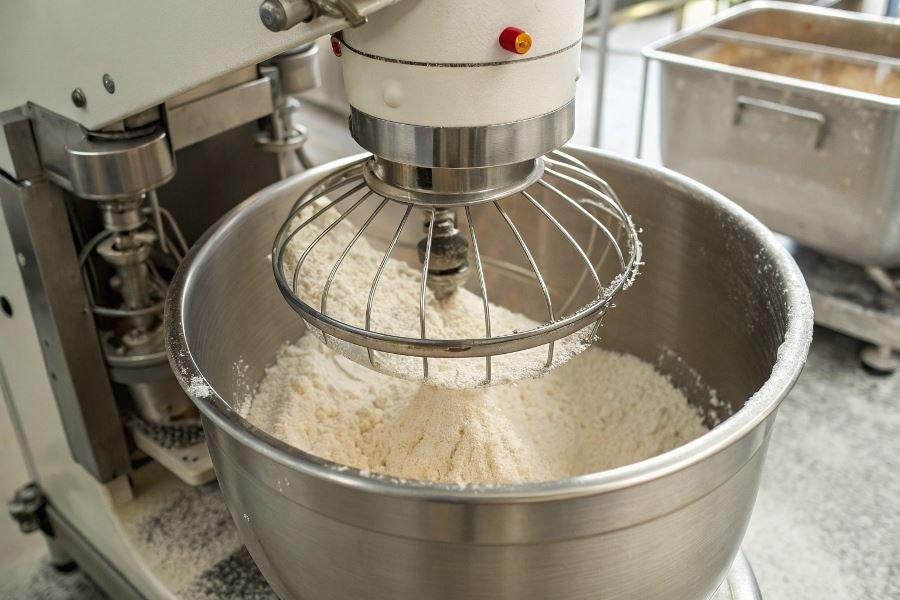
- Electric sifters: The modern solution for high-volume baking or those with hand strength limitations
Why proper sifting transforms your baking
The benefits of sifting extend far beyond tradition:
“Sifting incorporates air into flour, creating a lighter texture in your final baked goods. It’s like giving your recipes wings.”
Properly sifted flour creates more consistent measurements—a cup of sifted flour weighs significantly less than unsifted, preventing the dense, dry results that plague many beginners. Additionally, sifting breaks down clumps that might otherwise create pockets of dry ingredients in your batters and doughs.
For recipes requiring delicate textures—angel food cakes, soufflés, or tender pastries—a flour sifter isn’t just helpful; it’s absolutely essential for achieving professional results.
Mastering Your Flour Sifter
The humble flour sifter—a simple tool that transforms your baking from amateur to artisanal with just a few turns of the wrist. While it might seem straightforward, proper technique makes all the difference between clumpy disappointments and cloud-like perfection in your baked goods.
Learning how to properly operate a flour sifter: tips for beginners can dramatically improve your baking results. The process aerates the flour, removes unwanted debris, and breaks up clumps that would otherwise create dense spots in your finished products. Let’s dive into the essential techniques that will elevate your baking game immediately.
Preparing Your Sifter for First Use
Before incorporating a new sifter into your baking arsenal, proper preparation is crucial:
-
Disassemble if possible – Many quality sifters can be taken apart. Check manufacturer instructions for specific guidance.
-
Wash thoroughly – Use warm, soapy water to remove manufacturing residues and dust. Avoid soaking metal sifters to prevent rusting.
-
Dry completely – Allow all components to air dry for at least 24 hours. Any moisture left behind can cause flour to stick or, worse, create rust spots.
-
Light oil application – For crank-style sifters, apply a drop of food-grade mineral oil to the mechanism to ensure smooth operation.
The difference between a properly prepared sifter and one used straight from the package is like comparing a finely-tuned sports car to one that hasn’t had its first oil change—both will work, but one performs noticeably better.
Hand Positioning and Motion Techniques
Your grip and movement significantly impact sifting efficiency:
Crank-Style Sifters:
- Hold the sifter with your non-dominant hand
- Position your thumb at the top edge for stability
- Turn the crank with your dominant hand in a smooth, consistent motion
- Maintain a slight tilt (15-20 degrees) for optimal flour flow
Squeeze-Handle Sifters:
- Grip with both hands, placing fingers on the handles
- Apply even pressure with both hands
- Use a rhythmic squeezing motion rather than erratic pressure
- Hold approximately 8-10 inches above your work surface
Shake-Style Sifters:
- Hold with one hand at the handle
- Use a gentle side-to-side motion combined with a slight circular movement
- Maintain consistent rhythm rather than aggressive shaking
Determining Optimal Flour Quantities
Overloading your sifter is a common beginner mistake that leads to frustration and inconsistent results:
| Sifter Size | Optimal Fill Level | Maximum Capacity | Best For |
|---|---|---|---|
| 3-Cup | 2 cups (50-60%) | 3 cups | Small batch cookies, single-layer cakes |
| 5-Cup | 3-3.5 cups (60-70%) | 5 cups | Standard recipes, bread making |
| 8-Cup | 5-6 cups (60-75%) | 8 cups | Large batch baking, commercial use |
The ideal fill level is approximately 60-70% of capacity, which allows proper aeration during the sifting process. Exceeding this threshold creates resistance against the sifting mechanism and may result in:
- Uneven distribution of flour
- Increased physical strain
- Potential damage to the sifting mechanism
- Flour compaction rather than aeration
Pro tip: When working with whole grain flours, reduce your fill level by an additional 10% as these flours tend to be heavier and require more space for proper aeration.
By mastering these fundamental techniques, you’ll transform a simple kitchen tool into a precision instrument that consistently delivers professional-quality results in your baking endeavors.
Mastering Your Flour Sifter Like a Pro
Conquering common sifting challenges
Even the most dedicated bakers occasionally face frustrating moments with their flour sifters. When flour clumps stubbornly refuse to pass through, try gently tapping the side of your sifter against your palm—not the counter, which can damage the mechanism. For particularly stubborn clogs, a dry pastry brush works wonders to dislodge packed flour without damaging the mesh.
Humidity is perhaps the greatest enemy of smooth sifting. In high-moisture environments, flour absorbs ambient humidity and becomes prone to clumping. Store your flour in airtight containers and consider adding a food-safe desiccant packet to your flour storage. For immediate solutions, warming flour slightly (spread on a baking sheet at 150°F for 5 minutes) before sifting can dramatically improve flow.
Pro tip: If your hand-crank sifter develops an inconsistent flow, check for worn gears or misalignment. A drop of food-grade mineral oil on moving parts can restore smooth operation.
Keeping your sifter in prime condition
Your flour sifter deserves better than a quick rinse. For stainless steel models, avoid the dishwasher entirely—water trapped in mechanisms leads to rust and degradation. Instead:
- Empty excess flour by tapping gently
- Use a dry brush to remove residual flour
- For deep cleaning (monthly), wipe with a barely damp cloth
- Dry thoroughly before storage
For wooden-handled sifters, keep moisture away from the wood to prevent warping and splitting. Store your sifter in a dry cabinet—never in refrigerators or near sinks where moisture accumulates.
The lifespan of a quality sifter can exceed 25 years with proper maintenance, making it one of the most durable kitchen investments.
| Sifter Type | Cleaning Method | Storage Recommendation |
|---|---|---|
| Stainless Steel | Dry brush, occasional damp cloth | Dry cabinet, dust cover optional |
| Wooden Handle | Dry brush only, avoid moisture | Climate-controlled space, away from heat sources |
| Plastic/Modern | Dry brush, occasional mild soap | Dry area, avoid direct sunlight |
Beyond basic baking applications
Your flour sifter isn’t a one-trick pony. Creative chefs have discovered numerous applications beyond basic flour preparation:
Perfectly dusted desserts: Create professional-looking desserts by sifting powdered sugar or cocoa powder through your finest mesh sifter. The control and precision outperform any shaker or spoon method.
Homemade spice blends: Custom spice mixtures benefit tremendously from sifting, which removes lumps and ensures even distribution of ingredients with different densities. Try sifting your taco seasoning or BBQ rub for noticeably improved results.
Aerated potting soil: Garden enthusiasts can use larger-gauge sifters to prepare seedling soil, removing debris while creating the perfect texture for delicate roots.
Unexpected kitchen hack: When making homemade pasta, sift your semolina flour twice—once before mixing and once after drying cut pasta—to achieve restaurant-quality texture and prevent sticking.
For the truly adventurous, try using your sifter for homemade paper making. Pulped paper passes through the mesh, creating beautifully textured artisanal sheets perfect for crafting or special correspondence.
With these advanced techniques, your humble flour sifter transforms from occasional baking tool to indispensable kitchen ally, proving that sometimes the simplest tools offer the most versatility when in knowledgeable hands.
Discover essential techniques for properly operating flour sifters with our beginner-friendly guide. Learn step-by-step methods, troubleshooting tips, and maintenance secrets to elevate your baking results and achieve professional-quality textures.
Discover essential techniques for properly operating flour sifters with our beginner-friendly guide. Learn step-by-step methods, troubleshooting tips, and maintenance secrets to elevate your baking results and achieve professional-quality textures.