Ever listened to a recording that sounded like it was captured inside a bathroom? That hollow, echo-filled sound isn’t just unprofessional—it’s the death knell for any serious recording project. The difference between amateur and professional recordings often comes down to one critical factor: acoustic treatment.
When building your home recording studio, acoustic panels aren’t just accessories—they’re fundamental tools that transform how your space captures sound. Think of them as the unsung heroes behind every Grammy-winning album you’ve ever heard. Professional studios invest tens of thousands of dollars in acoustic treatment because they understand a fundamental truth: even the most expensive microphone can’t fix a poorly treated room.
Acoustic panels differ significantly from other sound solutions like foam or egg cartons (yes, people still try using those). While mass-loaded vinyl and bass traps address specific frequency issues, acoustic panels serve as your first line of defense against reflections and standing waves. They don’t just absorb sound—they shape it, control it, and perfect it.
Selecting the right panels requires understanding three key factors:
- Room analysis – Every space has unique acoustic properties
- Frequency response – Different materials target different sound frequencies
- Coverage requirements – Strategic placement matters more than quantity
The panels you choose will ultimately determine whether your recordings sound like they were made in your basement or at Abbey Road Studios. The right acoustic treatment doesn’t just improve sound—it transforms your creative possibilities, allowing you to capture performances with the clarity and precision they deserve.
The Science Behind Acoustic Panel Selection
Decoding Absorption Coefficients
When selecting acoustic panels for your home recording studio, understanding absorption coefficients becomes your secret weapon. These numerical values—ranging from 0.0 (complete reflection) to 1.0 (complete absorption)—tell you exactly how effectively a material absorbs sound at specific frequencies. The NRC (Noise Reduction Coefficient) rating simplifies this by averaging absorption values across 250Hz, 500Hz, 1000Hz, and 2000Hz frequencies.
The process of choosing acoustic panels for a home recording studio requires balancing technical specifications with practical considerations. Professional studios typically aim for NRC ratings between 0.80-1.00 for critical listening environments, while home studios might find panels with 0.70+ NRC ratings perfectly adequate for most applications.
Real-world example: A 2-inch thick fiberglass panel typically offers an NRC of 0.85, while a 1-inch foam panel might only reach 0.50—making the fiberglass nearly twice as effective across common frequencies.
Material Matters
The core material of your acoustic panels dramatically influences their performance profile:
| Material | NRC Range | Best For | Price Range |
|---|---|---|---|
| Fiberglass | 0.75-1.00 | Broadband absorption | $40-100 per panel |
| Acoustic Foam | 0.40-0.75 | Mid/high frequencies | $15-50 per panel |
| Fabric-Wrapped | 0.70-0.95 | Aesthetics + performance | $50-150 per panel |
Fiberglass panels (often from manufacturers like Owens Corning) offer superior broadband absorption but require fabric wrapping for safety and aesthetics. They excel at capturing both mid-range and low frequencies when properly constructed.
Acoustic foam solutions provide decent mid and high-frequency absorption at budget-friendly prices, but struggle with bass frequencies below 250Hz. They’re lightweight and easy to install but generally less durable than alternatives.
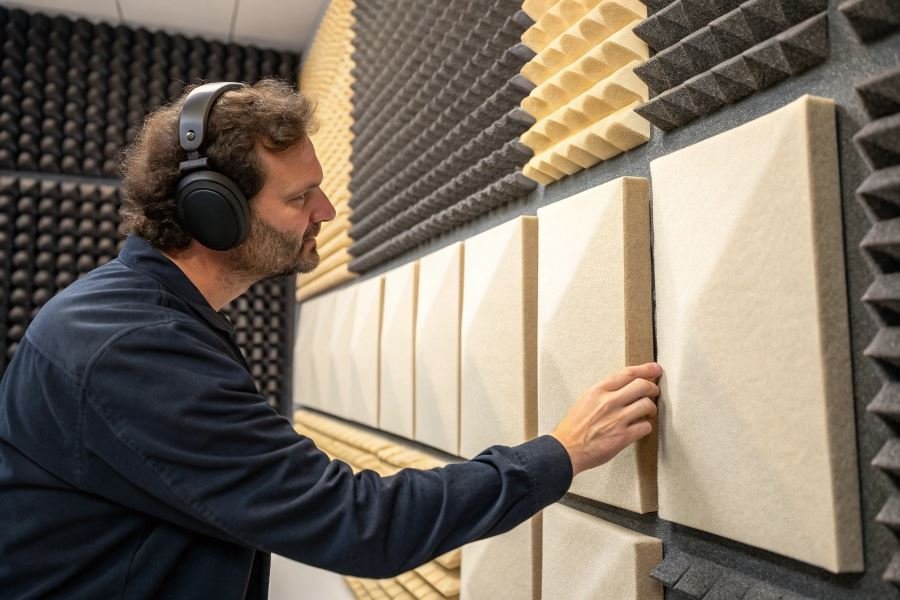
Fabric-wrapped panels combine the best of both worlds—typically using fiberglass or mineral wool cores with decorative, acoustically transparent fabrics. These panels can seamlessly integrate into home décor while delivering professional acoustic performance.
Thickness and Density: The Frequency Fighters
The relationship between panel thickness and frequency absorption follows a simple rule: thicker panels absorb lower frequencies.
For effective treatment across the frequency spectrum:
- High frequencies (2kHz+): Even thin 1″ panels perform admirably
- Mid frequencies (250Hz-2kHz): 2″ panels provide balanced absorption
- Low-mid frequencies (125Hz-250Hz): 3-4″ panels start becoming effective
- Bass frequencies (below 125Hz): 6″+ panels or specialized bass traps required
Density also plays a crucial role—panels with 3-8 lb/ft³ density typically offer optimal absorption without unnecessary weight or cost. Higher density doesn’t always mean better performance; sometimes it can actually reduce absorption effectiveness at certain frequencies.
Pro tip: For home studios with limited space, consider using a combination of 2″ panels for walls with strategic 4″ panels at first reflection points and corners. This approach delivers approximately 75% of the benefits of full professional treatment at roughly half the cost and space requirements.
When selecting panels, remember that effective acoustic treatment isn’t about eliminating all reflections—it’s about controlling them to create a balanced, accurate listening environment where your recordings and mixes translate perfectly to the outside world.
Strategic Placement: The Art and Science of Acoustic Panel Installation
Finding the acoustic trouble spots
Identifying reflection points in your studio space isn’t just helpful—it’s essential. These points, where sound waves bounce off hard surfaces before reaching your ears, create those pesky early reflections that muddy your mix. The primary reflection points typically include the side walls adjacent to your monitors, the ceiling above your listening position, and the wall behind your setup.
To locate these points with precision, try the mirror technique: have a friend move a mirror along your walls while you sit in your mixing position. Anywhere you can see your monitors in the mirror is a first-reflection point that needs treatment. These spots are non-negotiable—they’re your acoustic panel priority zones.
Beyond reflection points, bass buildup in corners (known as room modes) creates frequency response nightmares. Use a simple clap test—if you hear a distinct “boing” or resonance after clapping, you’ve found a problem area that needs addressing.
Coverage calculations that actually work
The “how much is enough” question plagues every studio builder. While acoustic treatment companies might suggest covering 30-40% of your wall space, the reality depends on your specific room and goals.
For critical listening environments, aim for:
| Room Size | Minimum Coverage | Optimal Coverage |
|---|---|---|
| Small (< 100 sq ft) | 25% | 35-40% |
| Medium (100-200 sq ft) | 20% | 30-35% |
| Large (> 200 sq ft) | 15% | 25-30% |
Remember: these percentages apply to your total wall and ceiling area combined. Distribute panels strategically rather than clustering them in one area.
The thickness of your panels matters tremendously. For vocal recording, 2-inch panels handle mid and high frequencies effectively. For mixing and mastering, consider 3-4 inch panels or bass traps that address lower frequencies. The physics is simple—thicker panels trap longer wavelengths.
Balancing form and function
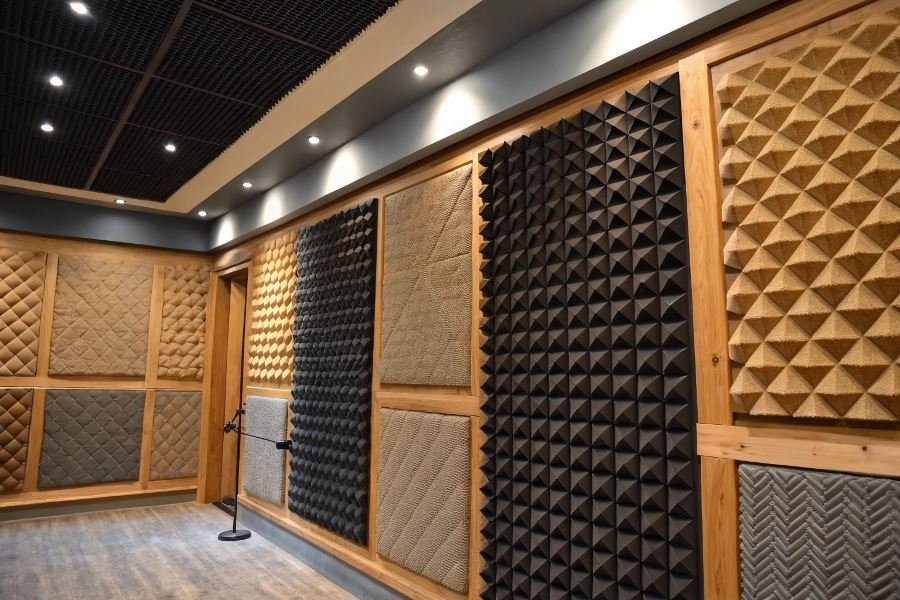
The days of studios looking like egg-carton nightmares are thankfully behind us. Modern acoustic panels from companies like GIK Acoustics and Primacoustic offer customizable fabric options that complement your décor while delivering professional sound treatment.
Consider these mounting approaches for different aesthetic goals:
-
Floating installations create visual interest by mounting panels a few inches from the wall, which also improves low-frequency absorption.
-
Geometric patterns using panels of different colors can transform acoustic treatment into wall art.
-
Printed panels featuring custom artwork or photography merge function with personal expression.
For rental spaces or temporary studios, stand-mounted panels provide flexibility without wall damage. These portable solutions from AuraLex can be positioned exactly where needed during recording sessions and stored when not in use.
The most elegant acoustic solutions are those you barely notice visually but immediately hear in your recordings.
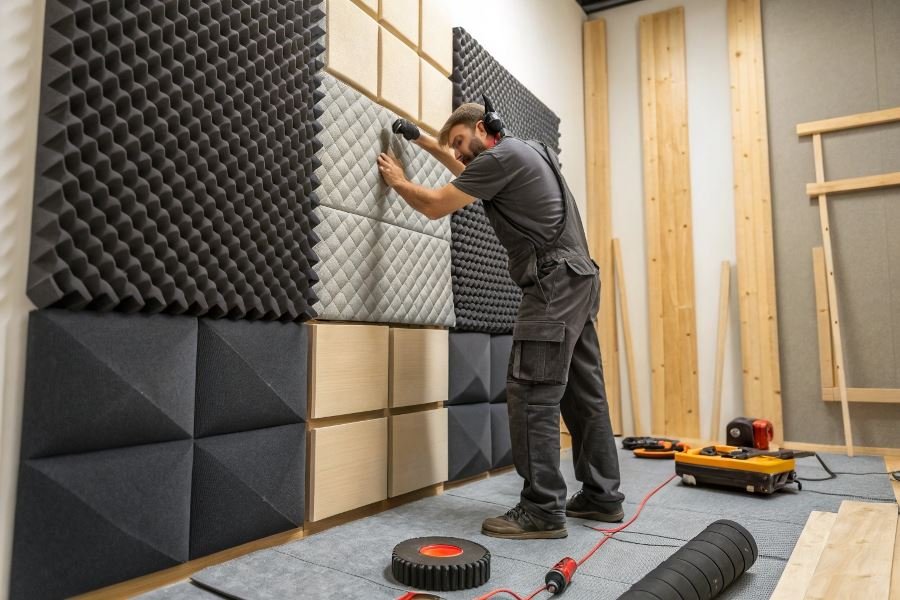
When mounting panels, use proper hardware rated for the weight of your panels. Improperly mounted acoustic treatment can become both a safety hazard and an acoustic disappointment. Most manufacturers provide specialized mounting hardware designed specifically for their products—use it.
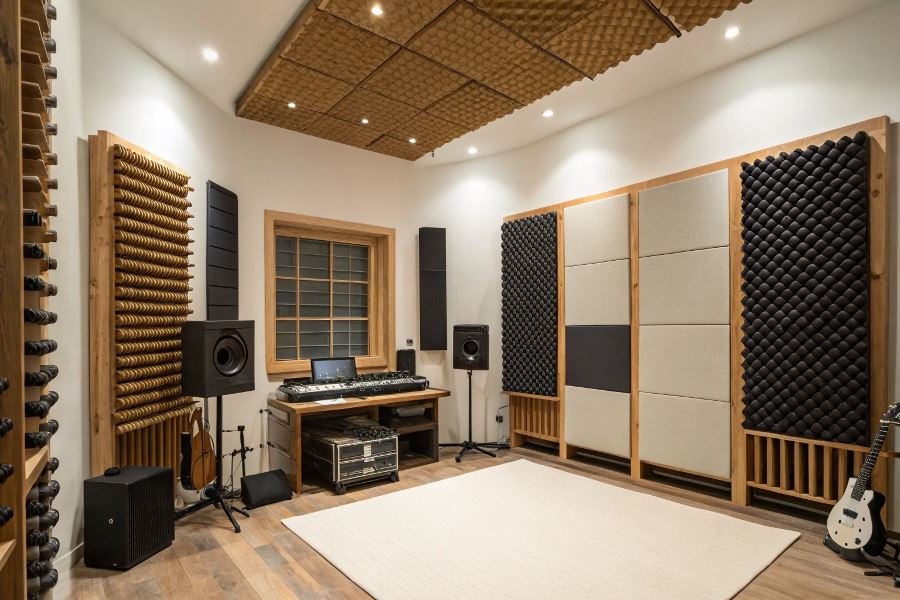
Strategic placement isn’t just about covering square footage—it’s about creating an environment where sound behaves predictably, allowing you to make mixing decisions with confidence rather than compensation.
Discover how to select the perfect acoustic panels for your home recording studio with our comprehensive guide covering materials, absorption ratings, and strategic placement for professional sound quality.
Discover how to select the perfect acoustic panels for your home recording studio with our comprehensive guide covering materials, absorption ratings, and strategic placement for professional sound quality.