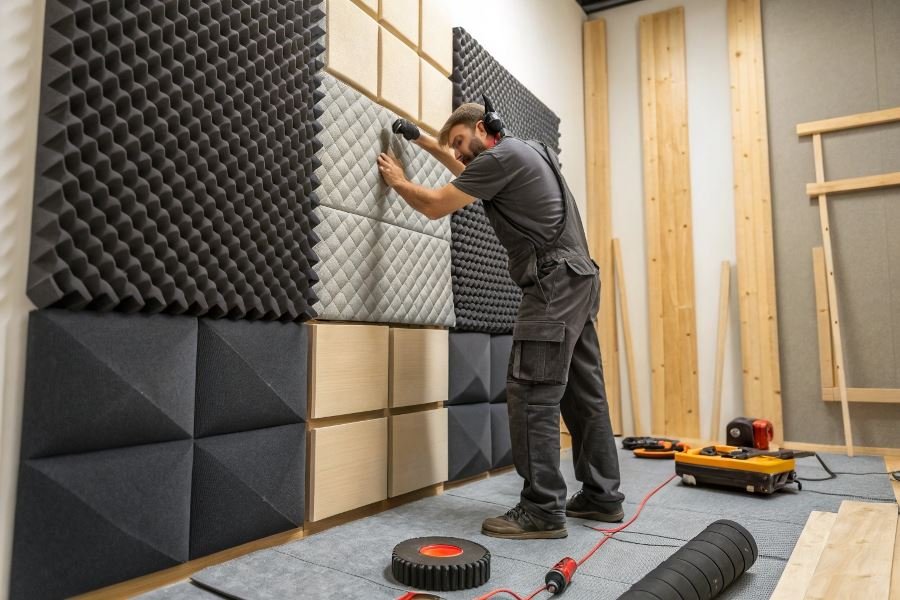
Ever walked into a professional recording studio and felt that inexplicable sense of sonic clarity? That’s not accident—it’s acoustic science at work. Behind every Grammy-winning album lies a carefully crafted acoustic environment where sound waves are methodically controlled, not left to bounce chaotically.
The difference between amateur and professional recordings often isn’t about expensive microphones or preamps—it’s about understanding how sound behaves in your space. When sound waves hit a surface, they don’t simply disappear; they reflect, diffract, or get absorbed. This invisible dance of acoustics shapes everything you record.
Diffusers vs. Absorbers: The Acoustic Yin and Yang
Think of diffusers and absorbers as two complementary tools in your acoustic arsenal:
-
Absorbers capture sound energy, converting it to heat through friction. They’re the acoustic vacuum cleaners, reducing overall sound level and taming problematic frequencies. Without them, your recordings swim in a sea of muddy reverberations.
-
Diffusers, meanwhile, don’t remove sound—they redistribute it. By scattering sound waves in multiple directions, they prevent the focused reflections that create standing waves and flutter echoes while preserving the room’s natural liveliness.
“The goal isn’t to create a dead room—it’s to create a controlled one. Too much absorption creates an unnatural environment that sounds claustrophobic on recordings.” — Bob Katz, mastering engineer
The physics is fascinating: absorbers typically work best on mid and high frequencies (though bass traps handle the lows), while diffusers excel at maintaining a natural ambiance without the harshness of direct reflections. The strategic combination of both creates that elusive “professional sound” that separates bedroom productions from commercial releases.
Diffusers vs Absorbers: Making the Right Choice Through Room Analysis
Identifying Your Studio’s Acoustic Fingerprint
Every studio space has its own unique acoustic signature—a combination of reflections, resonances, and frequency responses that shape how sound behaves within your walls. Before reaching for acoustic treatments, you need to understand what you’re actually hearing.
The decision between diffusers or absorbers: what to choose for your studio ultimately depends on properly diagnosing your specific acoustic challenges. Start with a simple clap test—stand in different positions and listen to how the sound decays. Does it ring? Echo? Disappear too quickly? For more precision, use a measurement microphone and acoustic analysis software like Room EQ Wizard to visualize frequency response and reverberation times.
Common acoustic problems to identify:
- Flutter echo (ping-pong reflections between parallel surfaces)
- Room modes (standing waves at specific frequencies)
- Early reflections (first bounces from nearby surfaces)
- Excessive reverberation (too much overall reflection)
- Dead spots (areas with unnatural sound absorption)
When Diffusers Shine Brightest
Diffusers excel in specific scenarios where preserving acoustic energy while eliminating problematic reflections is the goal. They scatter sound waves rather than absorbing them, maintaining a room’s natural liveliness.
Diffusers provide optimal solutions when:
- Your room is already too “dead” or dry-sounding
- You need to eliminate flutter echo without reducing reverb time
- You’re working in medium to large spaces (generally >150 sq ft)
- You want to maintain high-frequency presence and “air”
- You’re creating a critical listening environment like a mastering studio
“Diffusion creates a more natural-sounding space by preserving acoustic energy while eliminating the perception of distinct reflections,” explains acoustician Peter D’Antonio, founder of RPG Acoustic Systems.
When Absorbers Deliver Better Results
While diffusers scatter sound, absorbers remove acoustic energy from the room—a crucial difference that makes them the superior choice for many common studio issues.
Absorbers are the better choice when:
- Controlling excessive low-frequency buildup (bass traps)
- Taming early reflections at listening position
- Reducing overall reverb time in overly “live” rooms
- Working in smaller spaces where diffusion isn’t practical
- Creating vocal booths or isolation areas
- Operating on limited budgets (quality absorbers typically cost less)
| Treatment Type | Room Size Suitability | Primary Benefit | Typical Cost Range |
|---|---|---|---|
| Diffusers | Medium to Large | Preserves acoustic energy | $100-500+ per unit |
| Absorbers | Any size | Reduces acoustic energy | $30-300+ per unit |
The most effective studio treatment strategies typically employ both tools strategically. Consider placing absorption at first reflection points and corners, while using diffusion on the rear wall behind the listening position. This hybrid approach creates a controlled yet natural-sounding space that translates well to other listening environments.
Remember that proper placement matters as much as the type of treatment. Even the most expensive diffuser won’t help if it’s not addressing your specific acoustic problem in the right location.
Creating the Ideal Acoustic Balance with Diffusers and Absorbers
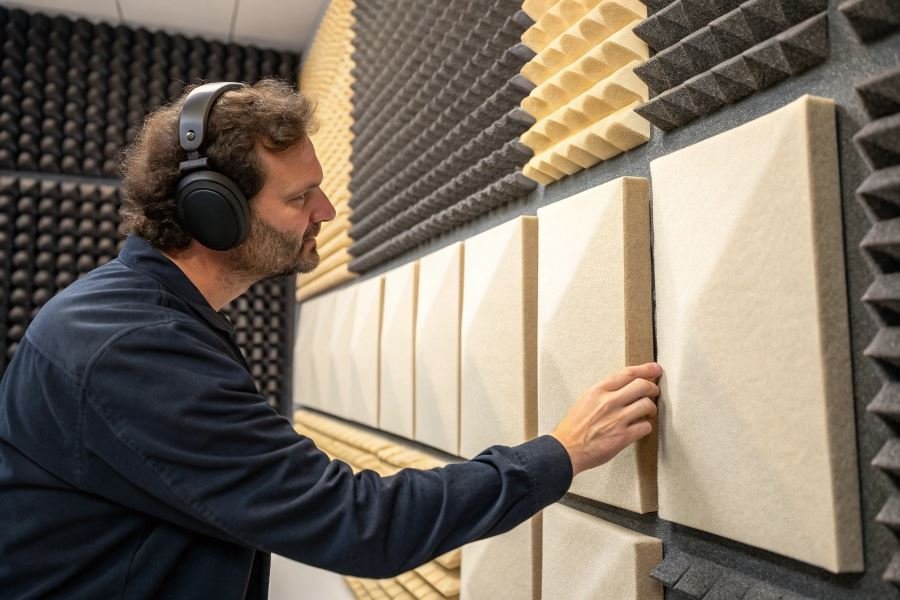
Strategic Placement for Studio Configurations
The magic of a well-treated studio lies not just in having acoustic treatments, but in their strategic implementation. Different studio shapes demand different approaches. In rectangular rooms (the most common configuration), place absorbers at primary reflection points—typically the side walls and ceiling where sound first bounces between your listening position and speakers. Diffusers work exceptionally well on the rear wall behind the listening position, preventing the “slap echo” that occurs in untreated spaces.
For square rooms (acoustically challenging due to parallel walls creating standing waves), consider placing absorbers at corners to tame low-frequency buildup, while installing diffusers at strategic midpoints along walls to break up modal resonances.
Irregular-shaped studios actually have a natural advantage, as they inherently reduce parallel reflections. In these spaces, focus absorbers on areas where sound energy concentrates, and use diffusers to maintain a sense of spaciousness without creating dead spots.
The 38% rule: Position your listening position approximately 38% of the room’s length from the front wall for optimal frequency response—then build your treatment strategy around this sweet spot.
Hybrid Approaches for Superior Results
The most effective studios employ a thoughtful combination of both diffusion and absorption. This hybrid approach creates what acousticians call a “controlled ambience”—neither too dead nor too live.
A particularly effective strategy involves:
- Bass trapping in corners – Using thick absorbers (minimum 4″ depth) to control low-frequency energy
- Absorption at first reflection points – Typically 2″ panels at ear height on side walls and ceiling
- Diffusion on rear walls – To maintain spatial awareness and prevent the room from feeling unnaturally dry
- Selective diffusion between absorption panels – Creating a balanced acoustic signature
GIK Acoustics offers an excellent hybrid solution in their Alpha Series, which combines absorption and diffusion in a single panel. This approach is particularly effective in smaller studios where space is at a premium.
Budget Considerations: Commercial vs DIY Solutions
Professional acoustic treatment represents a significant investment, but there are options at various price points:
| Solution Type | Cost Range | Effectiveness | Aesthetics |
|---|---|---|---|
| Commercial Absorbers | $50-300 per panel | High | Professional |
| DIY Absorbers | $15-50 per panel | Medium-High | Variable |
| Commercial Diffusers | $100-500+ per unit | High | Professional |
| DIY Diffusers | $30-100 per unit | Medium | Variable |
For those on tight budgets, DIY absorption panels using Rockwool or Owens Corning insulation wrapped in fabric offer excellent performance-to-cost ratio. Building effective diffusers is more challenging, as their performance depends on precise mathematical calculations and construction.
A smart approach for budget-conscious studios is to invest in commercial diffusers (where precision matters most) while building DIY absorbers. Companies like Primacoustic offer reasonably priced treatment packages that can be supplemented with DIY solutions.
Remember that proper placement of fewer high-quality treatments often outperforms random placement of many inferior ones. Start with treating the most problematic areas first, then expand your acoustic strategy as budget allows.
Discover how to perfect your studio's sound with the right acoustic treatment. Learn the key differences between diffusers and absorbers, when to use each, and how to strategically combine them for professional-quality recordings.
Discover how to perfect your studio's sound with the right acoustic treatment. Learn the key differences between diffusers and absorbers, when to use each, and how to strategically combine them for professional-quality recordings.