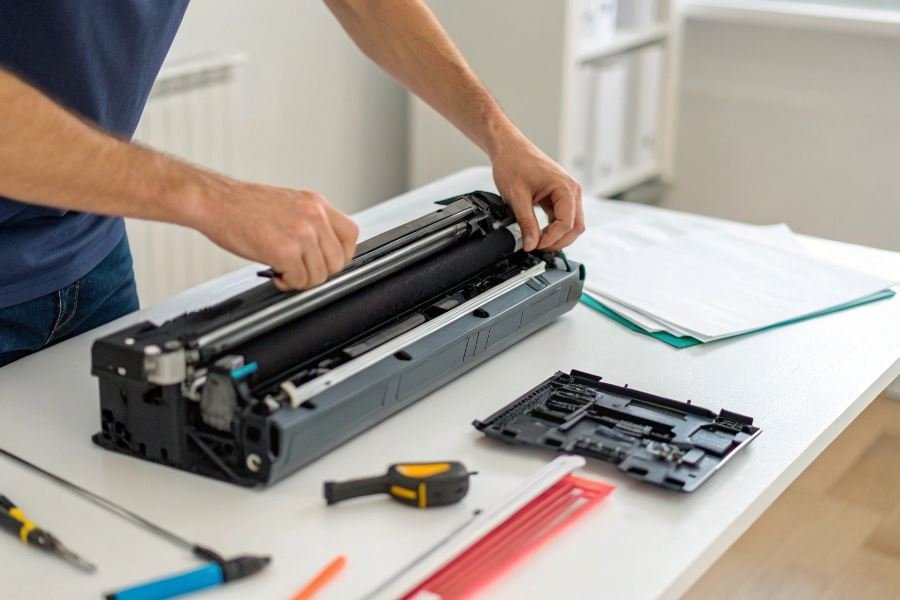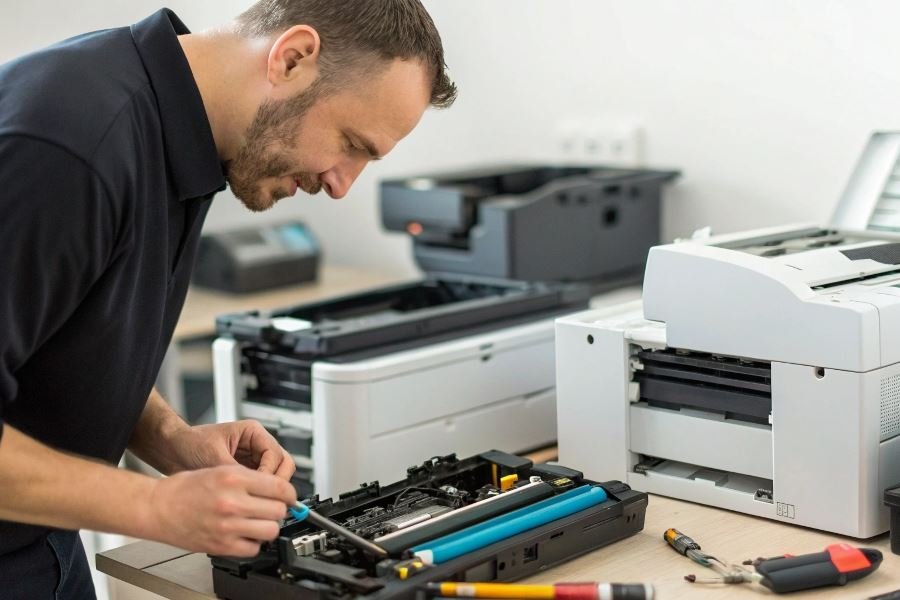

That strange grinding noise from your office corner isn’t just annoying—it’s your multi-function printer sending an SOS. When these sophisticated machines falter, productivity screeches to a halt, but rushing to replace parts without proper diagnosis is like prescribing medicine without examining the patient.
The art of diagnosing MFP malfunctions requires a methodical approach that can save hundreds of dollars in unnecessary parts and service calls. Before you start disassembling anything, understanding the telltale signs of common issues can dramatically streamline your troubleshooting process.
Recognizing the warning signals
MFPs typically announce their distress through specific symptoms:
- Paper jams occurring repeatedly in the same location
- Streaked or faded prints that diminish document quality
- Unusual noises—grinding, clicking, or high-pitched whines
- Error codes flashing on the display panel
- Connectivity issues despite network stability
“The difference between a 5-minute fix and a 5-hour ordeal often comes down to correctly interpreting these initial symptoms.”
The troubleshooter’s toolkit
Effective diagnosis doesn’t require an engineering degree, but it does demand a few essential tools:
- Clean microfiber cloths
- Compressed air canister
- Basic screwdriver set
- Flashlight for inspecting internal components
- Isopropyl alcohol (90%+) for cleaning sensitive parts
Remember that systematic diagnosis—checking connections, examining paper paths, and testing basic functions—often reveals simple solutions to seemingly complex problems. The printer that appears “dead” might simply have a loose power connection or paper sensor issue rather than requiring expensive component replacement.
Critical Components to Check When Your MFP Fails
When your multifunction printer suddenly stops performing as expected, knowing where to begin troubleshooting can save hours of frustration and potentially expensive service calls. Effective diagnosis of MFP malfunctions requires a systematic approach that starts with examining the most common failure points.
The art of diagnosing MFP malfunctions begins with checking the parts that most frequently cause problems. By focusing first on these critical components, you can often resolve issues without specialized tools or technical expertise. This methodical approach not only saves time but also helps you understand your device better for future maintenance.
Paper Feed Mechanism and Rollers
The paper feed system is often the primary culprit in printer malfunctions. Over time, rubber rollers collect dust, develop slick surfaces, or wear unevenly, causing misfeeds and jams.
Signs of roller problems include:
- Paper feeding at an angle
- Multiple sheets feeding simultaneously
- Grinding noises during paper pickup
- Consistent paper jams at the same location
To examine rollers properly, remove the paper tray and locate the pickup rollers. They should have a slightly tacky surface—not slick or hardened. Clean them with a lint-free cloth slightly dampened with isopropyl alcohol. For severely worn rollers, replacement is typically the only solution.
The paper path itself may contain debris or foreign objects. A careful inspection with a flashlight can reveal paper fragments from previous jams that continue to cause problems.
Toner Cartridge and Imaging Unit Assessment
Toner-related issues manifest as streaks, spots, or faded prints. When examining the HP LaserJet or similar MFPs, always check the toner cartridge and imaging unit first when print quality suffers.
Key inspection points include:
| Component | What to Check | Common Issues |
|---|---|---|
| Toner cartridge | Seal removal, physical damage | Streaking, uneven printing |
| Imaging drum | Surface scratches, toner buildup | Repeated marks on page |
| Corona wire | Cleanliness, positioning | Faded prints, black pages |
| Fuser unit | Heat damage, paper debris | Smudging, paper wrinkles |
When handling these components, avoid touching the green drum surface or exposing it to direct light for extended periods. Even fingerprints can cause permanent image defects.
For color MFPs, check each color cartridge individually. Often, a single color cartridge can cause issues that appear to affect the entire printing system.
Scanner Assembly and Glass Surface Inspection
Poor scan quality or copy errors frequently stem from issues with the scanner assembly. The scanner glass is particularly vulnerable to problems that affect document reproduction.
Essential scanner checks include:
- Glass surface: Examine for smudges, scratches, or debris that can appear as lines or spots on scanned documents
- Calibration strip: The white or black strip along the edge of the glass must be perfectly clean for proper exposure
- ADF mechanism: Check for paper fragments or foreign objects in the document feeder path
- Scanner lamp: Verify it illuminates properly during operation
For Canon ImageCLASS and similar devices with dual scanning capabilities, inspect both the flatbed glass and the narrow ADF scanning strip.
Remember that scanner issues can sometimes appear as printing problems when using the copy function. By isolating whether the problem occurs only during copying or also during direct printing, you can determine if the scanner assembly requires attention.
With these systematic checks of the paper feed mechanism, toner system, and scanner assembly, you’ll resolve the vast majority of MFP issues without requiring professional service.
Electronic Sleuthing: Advanced MFP Diagnostic Techniques
Control board intelligence gathering
The control board—your multifunction printer’s brain—often holds the key to mysterious malfunctions. When basic troubleshooting fails, it’s time to investigate this command center. Start by checking for visible damage: scorched areas, bulging capacitors, or loose connections can immediately reveal problems.
Firmware verification is equally critical. Outdated firmware causes approximately 22% of persistent MFP issues according to service technicians. Access your printer’s control panel and navigate to system information to check the current firmware version. Compare this with the latest version on the manufacturer’s website—manufacturers like HP and Canon regularly release updates that resolve known bugs.
Pro tip: Before updating firmware, document your current settings. Some updates reset custom configurations, and having a reference will save considerable time.
Power supply detective work
The power supply unit (PSU) is often the unsung villain in printer malfunctions. These components deteriorate over time, delivering inconsistent voltage that creates puzzling, intermittent problems.
Testing requires methodical investigation:
- Inspect the power cord for fraying or damage
- Check wall outlet functionality with another device
- Listen for unusual sounds when powering on (clicking, buzzing)
- Observe startup behavior—erratic display flickering suggests power issues
For those comfortable with multimeters, measuring output voltages provides definitive answers. Most MFPs require stable 24V DC power, with variations exceeding ±5% potentially causing problems.
Remember that power fluctuations can damage electronic components gradually, creating issues that appear unrelated to power at first glance.
Connection conundrums
Network connectivity problems often masquerade as hardware failures. Before condemning components, verify all connections:
| Connection Type | Common Issues | Quick Checks |
|---|---|---|
| Ethernet | Loose cables, damaged ports | Secure connections, try alternate ports |
| Wi-Fi | Signal interference, outdated drivers | Update network drivers, check signal strength |
| USB | Cable damage, port failure | Try different cables and ports |
| Internal cables | Loose connections after paper jams | Inspect internal ribbon cables for secure seating |
DIY or call the cavalry
Determining when to attempt repairs yourself versus calling professionals requires honest assessment of your technical comfort level. Consider these guidelines:
Suitable for DIY repair:
- Paper feed mechanisms
- Roller cleaning/replacement
- Basic sensor cleaning
- Simple firmware updates
- Non-technical maintenance tasks
Professional service recommended:
- Control board replacement
- Laser assembly issues
- Power supply replacement
- Fuser unit problems
- Any repair requiring circuit testing
The financial equation matters too—professional service typically costs $75-150 per hour, while DIY repairs risk further damage if performed incorrectly. For printers under $300, extensive repairs rarely make economic sense compared to replacement.
Final diagnostic wisdom: Document everything during your troubleshooting journey. Patterns often emerge from seemingly unrelated symptoms, leading to accurate diagnosis. When professional help becomes necessary, detailed notes about your observations will significantly reduce diagnostic time and potentially lower repair costs.
Learn essential MFP troubleshooting techniques with our comprehensive guide. Discover which printer parts to check first when diagnosing malfunctions, from paper feed mechanisms to control boards, saving time and repair costs.
Learn essential MFP troubleshooting techniques with our comprehensive guide. Discover which printer parts to check first when diagnosing malfunctions, from paper feed mechanisms to control boards, saving time and repair costs.